
Instruction Links:
Note:
- If the version number installed in your device is lower than the version provided in the screenshots, follow the steps below to install the updated version of the applications.
- If an updated version of the above provided applications are already installed in your device, the following instructions will still work with minor differences in the version of the app you’re shown in the output which should have no impact during the course of the bootcamp.
Allow Apps from the App Store and Identified Developers
Reference: https://support.apple.com/en-us/HT202491
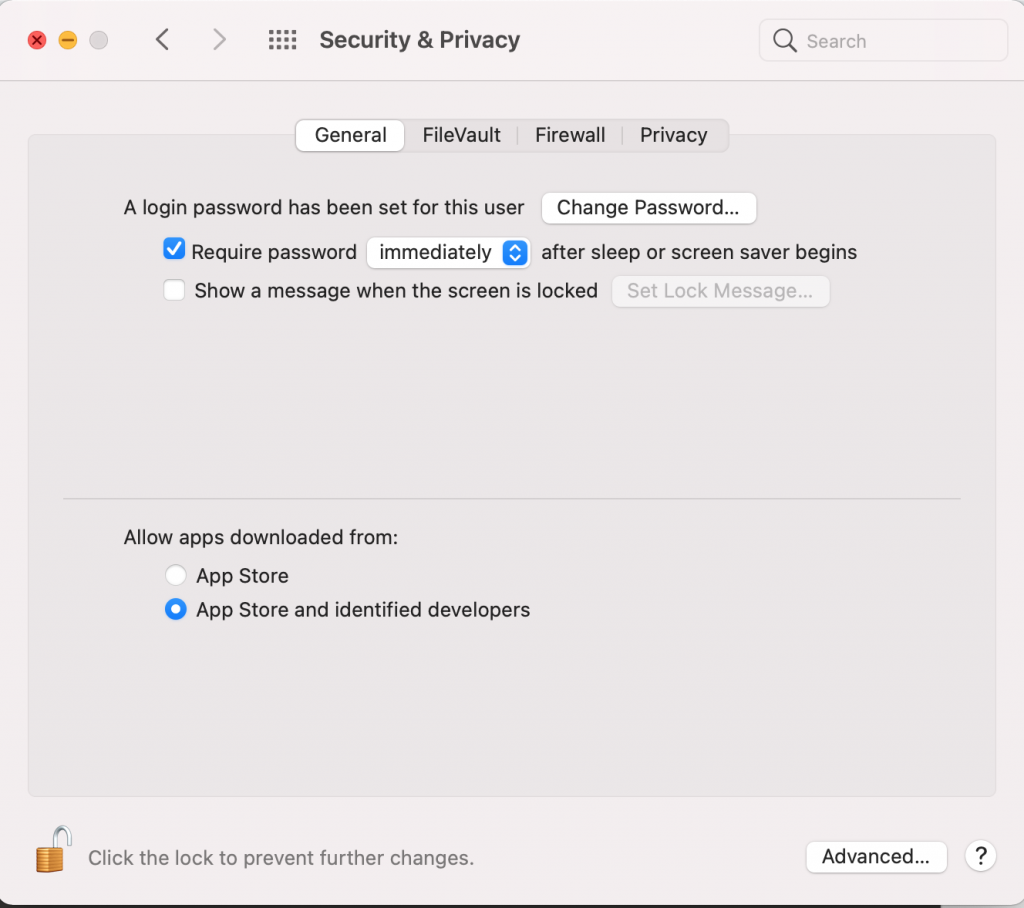
To allow installation from the App Store and Identified Developers on your Mac, choose Apple Menu > System Preferences, click Security & Privacy, then click General.
Click the lock and enter your password to make changes. Select App Store and identified developers under the header “Allow apps downloaded from.”
Homebrew
Click the Spotlight Search located at the top-right of your screen (the magnifying glass icon at the right side of the current time) then search and open a program named Terminal.
Inside the Terminal program, copy-paste the code below then press Enter.
| /bin/bash -c “$(curl -fsSL https://raw.githubusercontent.com/Homebrew/install/master/install.sh)” |
The terminal should now look like this:
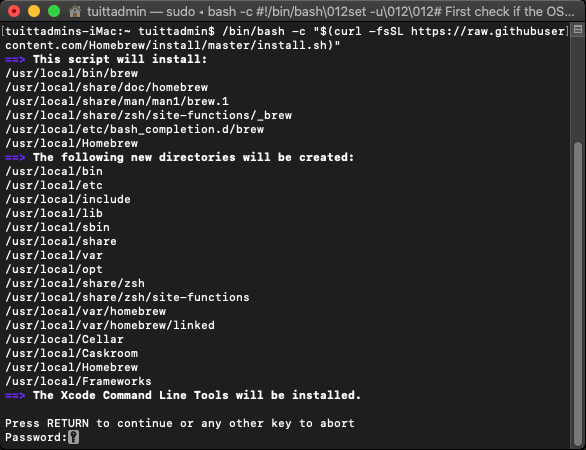
Press Enter and type your password to continue then wait for the install process to finish.
The executed command will install utility tools (specifically for MacOS devices) that will be used in the bootcamp.
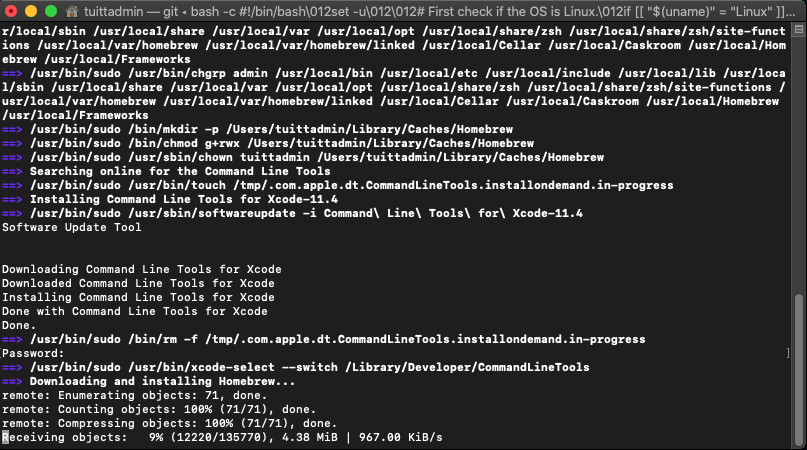
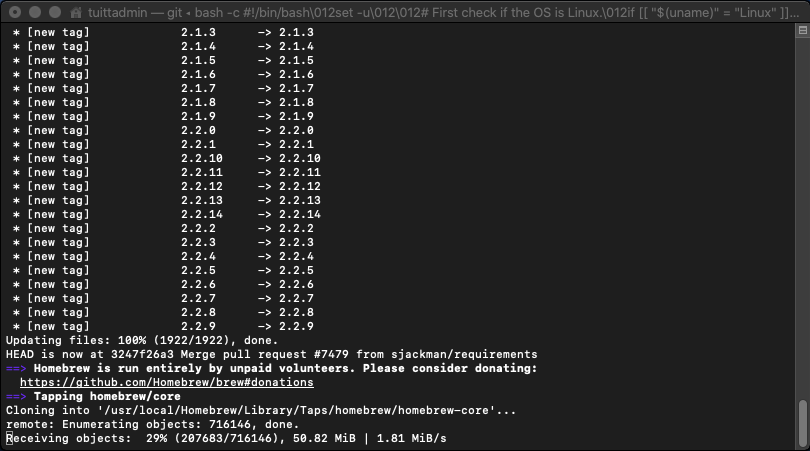
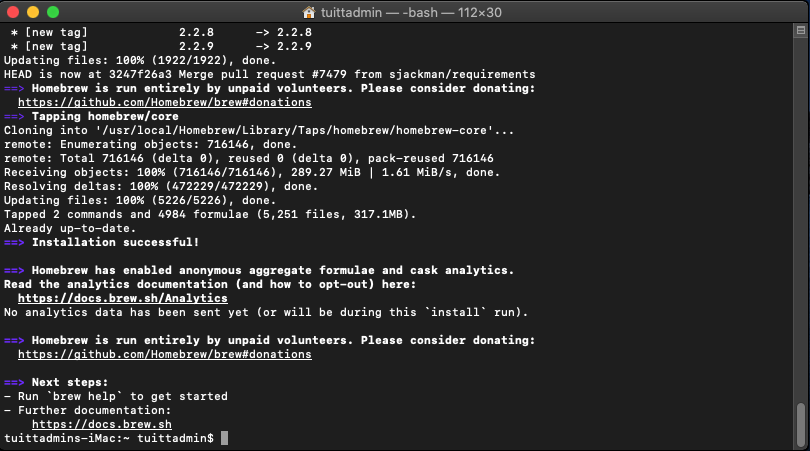
Sample screenshots of the outputs in the Terminal while the command is running.
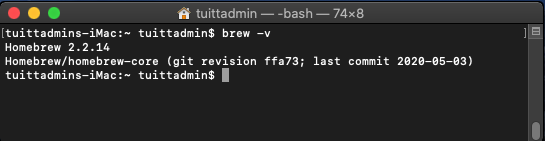
To verify that the installation process is successful, type the following in the Terminal:
| brew -v |
It should output the following:
Git was also installed along the way. To confirm, type git –version and the output should be like this:

If the version number is higher than in the screenshot, it means that it is more updated.
After verifying the success of the install process, keep the Terminal in the dock by right-clicking the program in the dock and choosing the Keep in Dock option.

Google Chrome
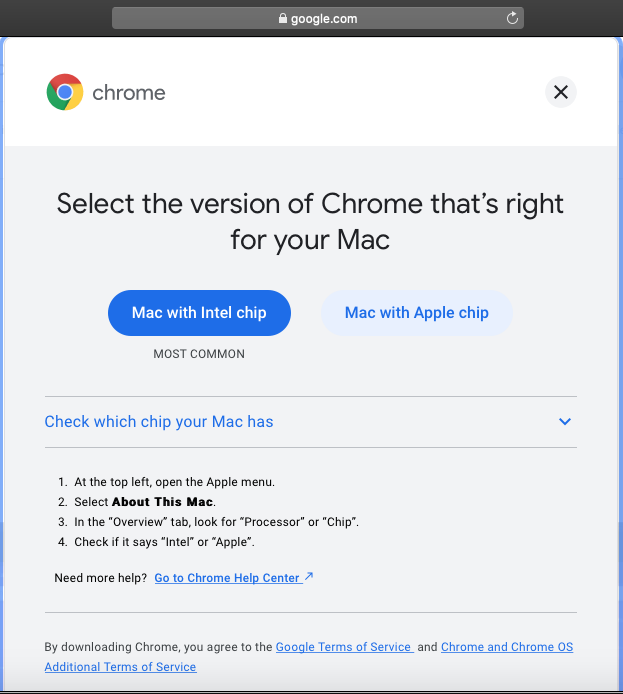
Open a web browser (initially Safari) and go to https://google.com/chrome. On the page, click the Download Chrome button.
Note: If you have an iMac or Macbook with the Apple Silicon (M1 or later) chip, click the Mac with Apple chip button. Otherwise, click the Mac with Intel chip button.
After downloading, open the DMG file.
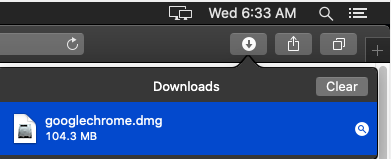
After opening the DMG file, drag the Google Chrome icon to your Applications.

After that, wait for the transfer to finish.

Click the Spotlight Search located at the top-right of your screen (the magnifying glass icon at the right side of the current time) then search and open Google Chrome.
Google Chrome should open normally.

Keep the Google Chrome in the dock by right-clicking the program in the dock and choosing the Keep in Dock option.
Session 0: Environment Checks Activity
Diagnostic Script Tool for JS OOP Mac
Goal: Verify that all necessary software and applications are installed on your machines (computers).
Directions: Follow the set of instructions below.
Step 1: Download the zip file here: zuitt-diagnostic-tools-mac.zip
Step 2: Unzip the file: zuitt-diagnostic-tools-mac.zip
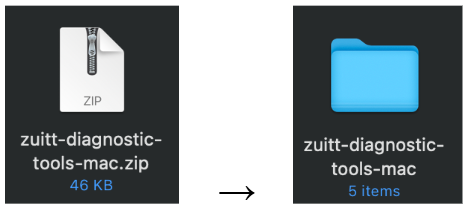
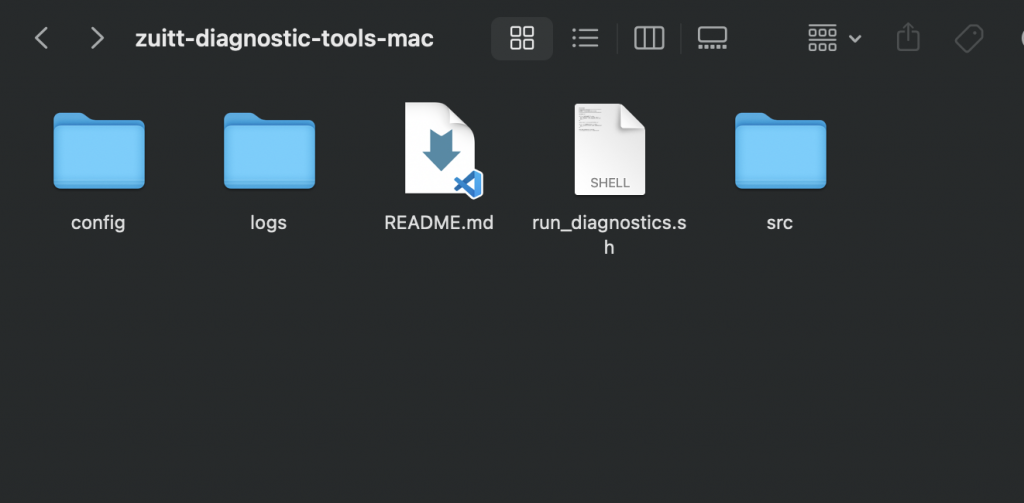
Step 3: Navigate to the zuitt-diagnostic-tools-mac folder
Step 4: Open your terminal
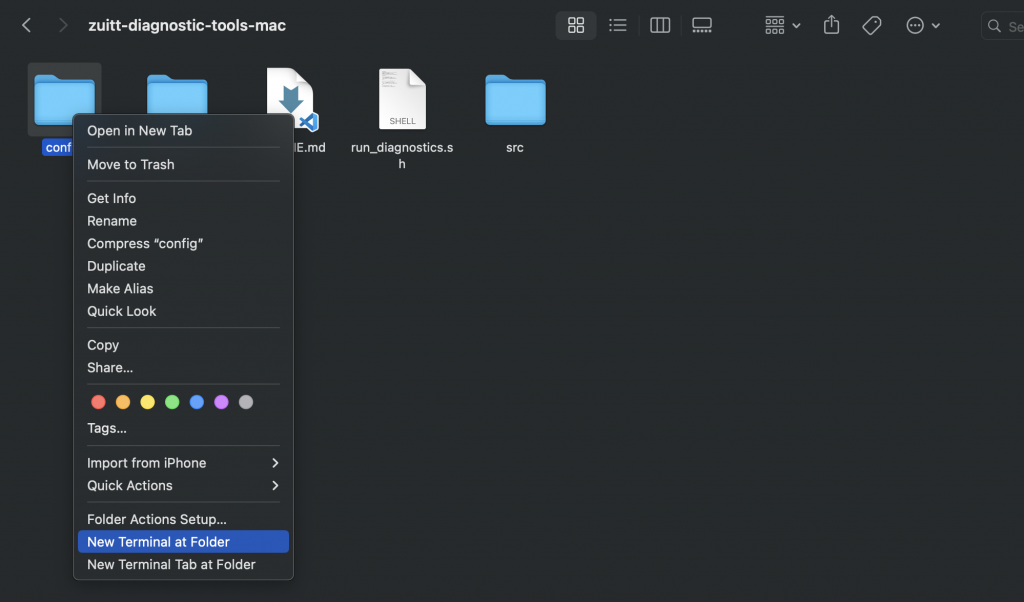
Option A: Inside the zuitt-diagnostic-tools-mac folder, right-click on any folder, then select “New Terminal at Folder.”
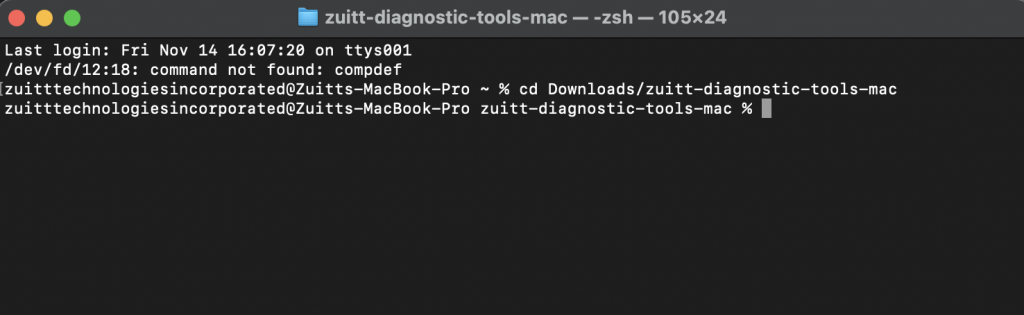
Once the terminal is open, return to the main folder by typing the command:


Option B: Open your terminal
Navigate to the zuitt-diagnostic-tools-mac folder by adding this command:

If the folder is inside the Downloads folder

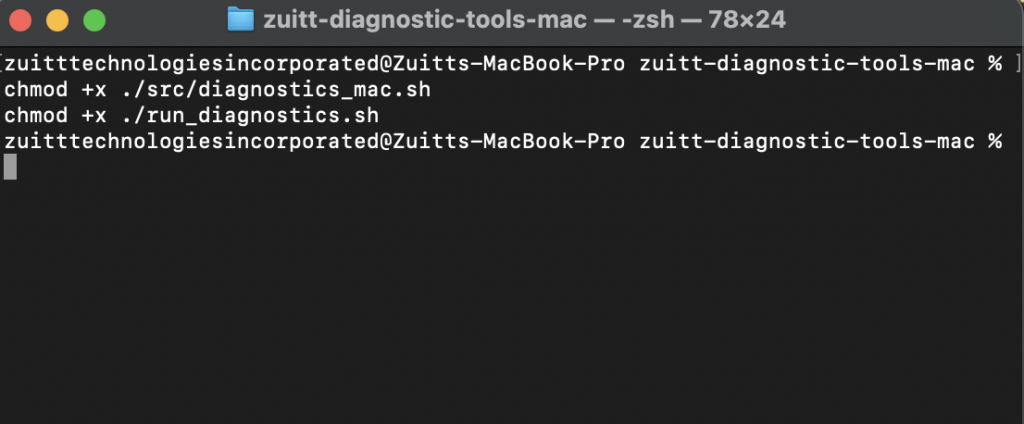
Step 5: Run these commands in the terminal to grant execute permissions

Step 6: You can run diagnostics for JS OOP by passing it as an argument to the script:

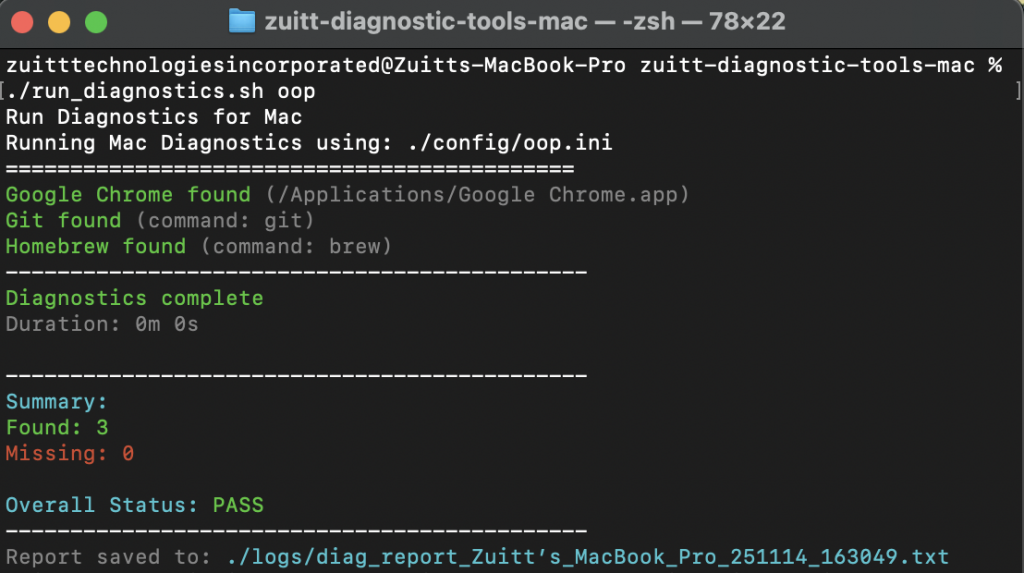
Note: If any applications, tools, or software are missing, install them first, then re-run the command.
Step 7: After running the diagnostic tool, a text file will be generated inside the logs folder.
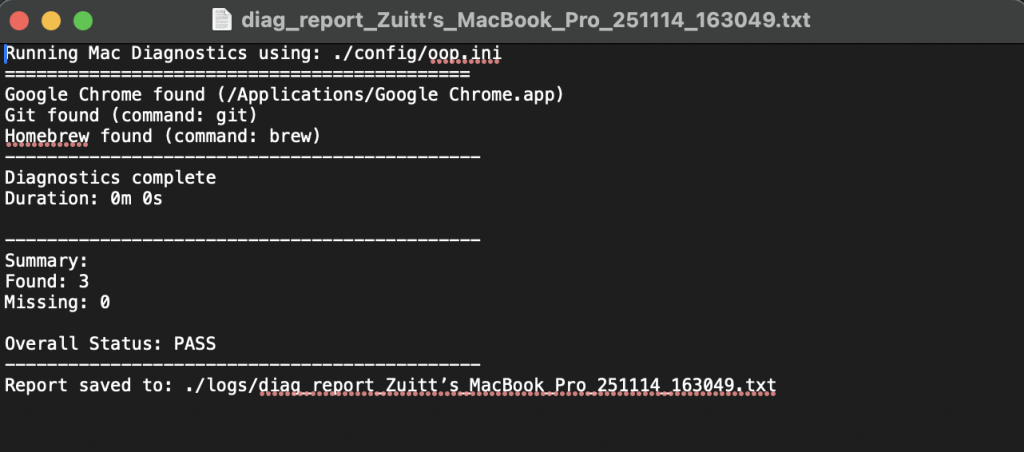
Inside the .txt file
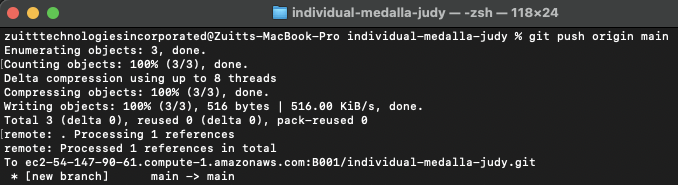
Step 8: Save the .txt file to the Zuitt Git repository. Then, update your local individual Git repository by adding the s01 folder and pushing it with the commit message “Environment Checks.”

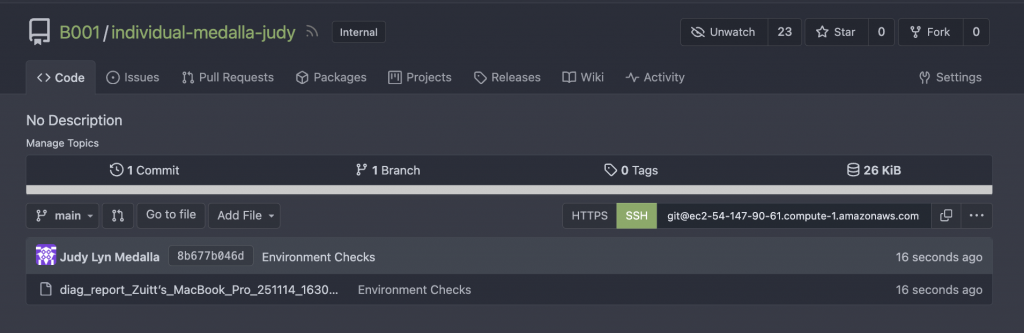
Copy the URL
Step 9: Log in to Boodle by clicking on this link (https://boodle.zuitt.co/login/). Make sure you are logged in to the email you provided to zuitt to access the app.
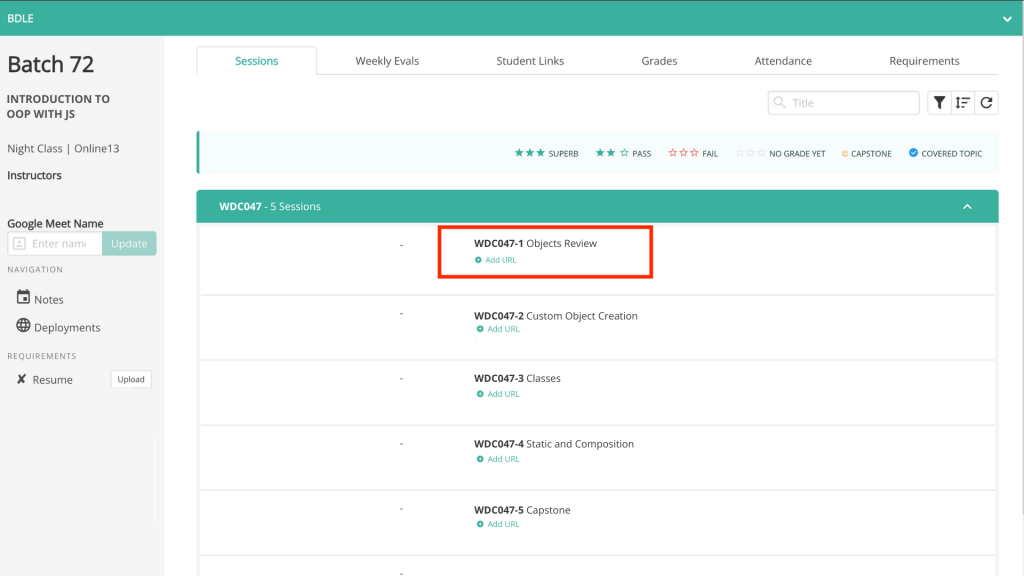
Step 10: Look for the Add URL button under Session 1- Objects Review and click on the button.
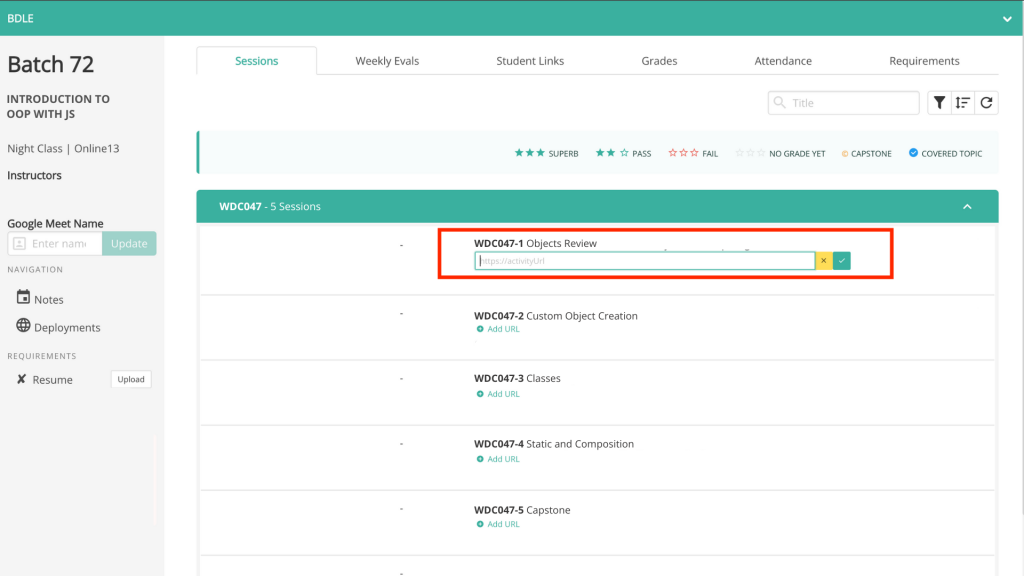
Step 11: Upon clicking the button, an input field/box will appear, which will allow you to add a link/URL to the previously copied link from Zuitt Git. Add the link and click on the check mark button to submit your output.
If you’ve stumbled upon this blog post and aren’t a bootcamper, you can begin your bootcamp journey with Zuitt by clicking this link: