
If the version number installed in your device is lower than the version provided in the screenshots, follow the steps below to install the updated version of the applications.
If an updated version of the above provided applications are already installed in your device, the following instructions will still work with minor differences in the version of the app you’re shown in the output which should have no impact during the course of the bootcamp.
Git
Open a Terminal using Ctrl+Alt+T and execute sudo apt install git -y.
To confirm successful installation, execute git –version to print the current version of installed Git.
Sublime Text 4
Open a Terminal using Ctrl+Alt+T and execute the following:
| wget -qO – https://download.sublimetext.com/sublimehq-pub.gpg | sudo apt-key add – sudo apt-get install apt-transport-https echo “deb https://download.sublimetext.com/ apt/stable/” | sudo tee /etc/apt/sources.list.d/sublime-text.list sudo apt update sudo apt install sublime-text -y |
To confirm successful installation, execute subl to open Sublime Text.
Google Chrome
Download and execute the installer
Wait for the installation to finish and run the google chrome application

Node.js & NPM
Open a Terminal using Ctrl+Alt+T and execute sudo apt install nodejs npm -y.
To confirm successful installation of Node, execute nodejs -v to print the current version of installed Node.
To confirm successful installation of NPM, execute npm -v to print the current version of installed NPM.
Postman
Open a Terminal using Ctrl+Alt+T and execute sudo snap install postman.
To confirm successful installation, execute postman to open Postman.
MongoDB Compass
Open a Terminal using Ctrl+Alt+T and execute wget https://downloads.mongodb.com/compass/mongodb-compass_1.35.0_amd64.deb to download the installer. Execute sudo dpkg -i mongodb-compass_1.35.0_amd64.deb to install MongoDB Compass.
You may also refer to this link (https://www.mongodb.com/docs/compass/current/install/) and follow the steps under Download and Install Compass.
To confirm successful installation, execute mongodb-compass.
MongoDB Community Edition
Open a Terminal using Ctrl+Alt+T and execute sudo apt-get install gnupg to install gnupg.
Execute curl -fsSL https://pgp.mongodb.com/server-6.0.asc | \ sudo gpg -o /usr/share/keyrings/mongodb-server-6.0.gpg \ –dearmor to import the MongoDB public GPG key.
Execute echo “deb [ arch=amd64,arm64 signed-by=/usr/share/keyrings/mongodb-server-6.0.gpg ] https://repo.mongodb.org/apt/ubuntu jammy/mongodb-org/6.0 multiverse” | sudo tee /etc/apt/sources.list.d/mongodb-org-6.0.list to create a file for the Ubuntu OS.
Execute sudo apt-get update to Reload the local package database. Execute sudo apt-get install -y mongodb-org to install the MongoDB packages.
To confirm successful installation, execute sudo systemctl start mongod.
If an error appears that states that mongod.service failed to start, execute sudo systemctl daemon-reload.
Verify if MongoDB has started successfully by executing sudo systemctl status mongod.
Press Ctrl + C to exit out of mongo shell.
You may also reference to this link (https://www.mongodb.com/docs/manual/tutorial/install-mongodb-on-ubuntu/#std-label-install-mdb-community-ubuntu) and follow the steps under Install MongoDB Community Edition.
Lastly execute mongosh to run the mongoshell in the terminal.
Press Ctrl + C to exit out of mongo shell.
Session 0: Pre-Bootcamp Activity
Goal: Check if all the software / applications needed are installed in your machines (computer).
Directions: Follow the set of instructions below.
Expected Output:
- Create a folder in your Documents folder with the name session0.

- Inside the session0 folder, right click on any space and selec:
- Windows: Git Bash Here
- Linux / Ubuntu: Open in Terminal
- MacOS: Select session0 folder, select Services, New Terminal Tab at Folder

- Write pwd (present working directory) command in your Git Bash / Terminal to return the value of your current location. Our desired output should show that we are inside the session0 folder.

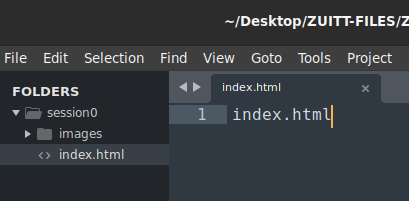
- Create an images folder inside session0 using the command mkdir images (make directory <directory name>)

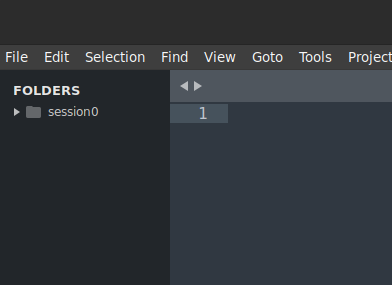
- Open your Sublime Text application, select on File on the upper left of your screen, select Open Folder, click on session0 and click Open Folder.
- session0 folder now appears at the left side panel of the Sublime Text application.
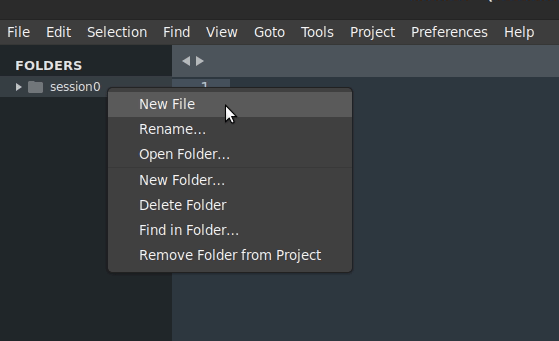
- Right click on session0 and select New File.
- Type index.html in the newly opened tab and press ctrl + s (save). A new file called index.html file should appear inside the session0 folder.
- Create a new file again and name it style.css, save it in the session0 folder.

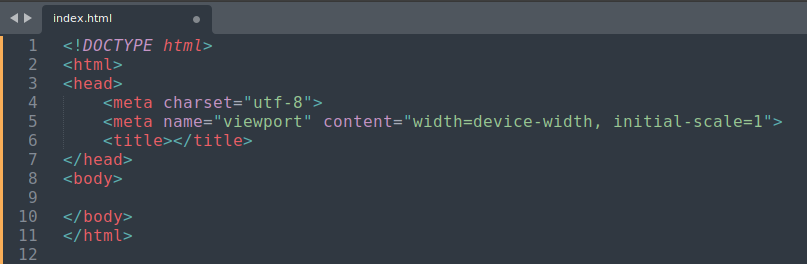
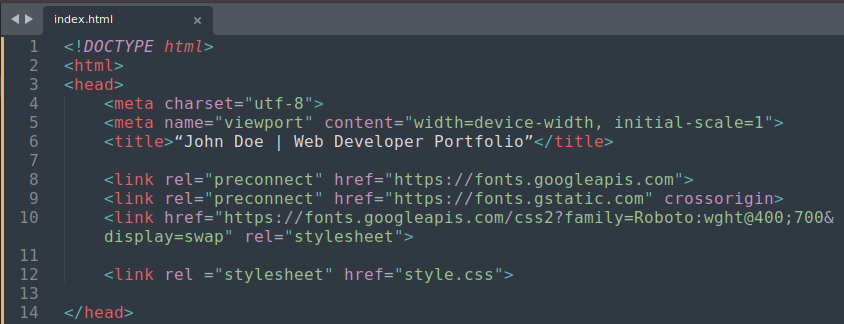
- Now, you are ready to create a skeleton of your session0 activity, double click on the index.html file. Remove everything and create a boilerplate for your html file by typing <html then click tab.
NOTE: If the <meta> tag did not appear, you can manually copy it or leave it as is for now.
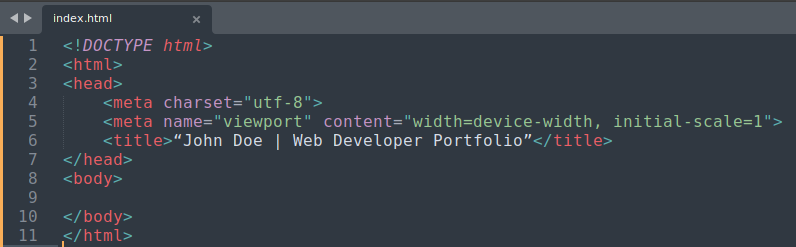
- Change the value of the <title> tag to “John Doe | Web Developer Portfolio” (alternatively, John Doe can be replaced by your own name).
NOTE: Make sure to save your changes, you can click on File then save or ctrl + s, you can look at the tab on top, if it is a circle, changes have not been saved, if it is “x”, changes have already been saved.
- Inside the <body> tag, create a <div> tag, this will be the wrapper for the whole layout.
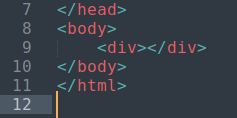
- Add the following tags inside the <div> tag:
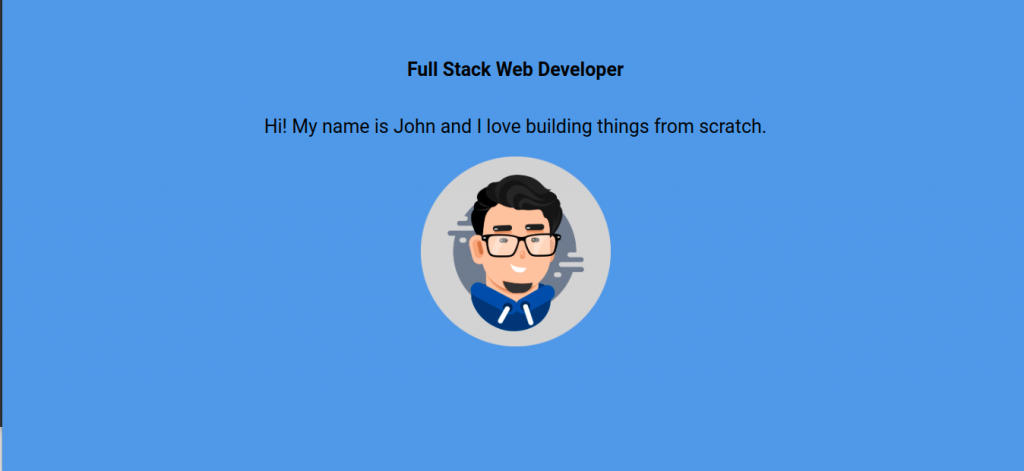
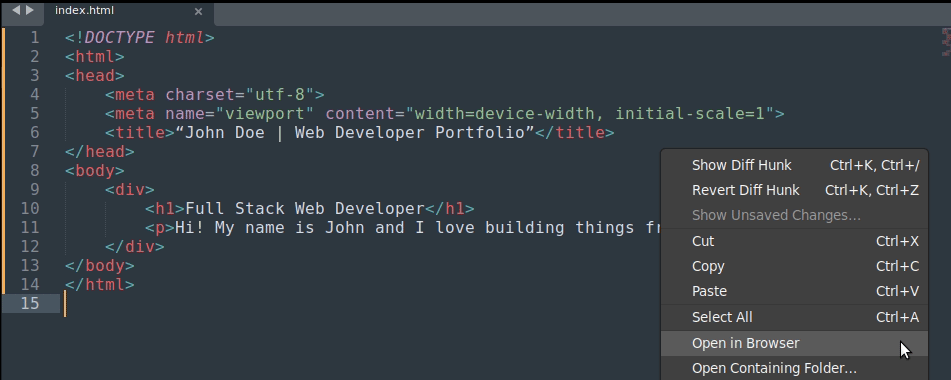
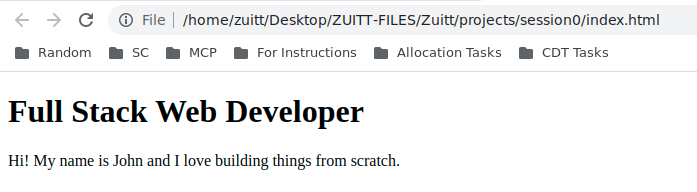
- <h1> tag with the value: Full Stack Web Developer
- <p> tag with the value: Hi! My name is John and I love building things from scratch

- Make sure to save your changes, right click anywhere in your Sublime Text application and click Open in Browser, this should open a tab in your Google Chrome browser.
Expected Output in Browser:
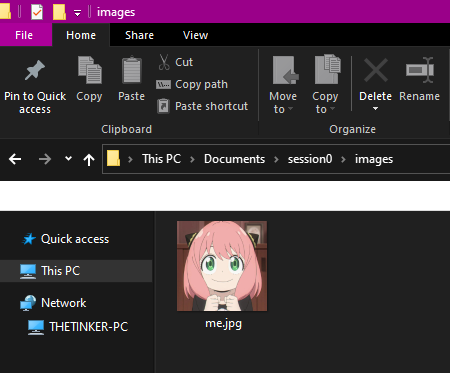
- Find a picture (it can be fictional or your own image) and transfer it in the images folder that you created a while ago. A square shaped image is much preferable for this activity.
NOTE: Rename the image into me.jpg. Make sure it ends with proper image extension (jpg, jpeg, png)
- Add an <img> tag inside your <div> tag, put an src attribute with the path (folder/file name) where you can find the image you want to put.

- Save the changes, refresh your browser to check the image, don’t worry about the size, we are going to resize this in your style.css. Now that your skeleton for session0 is done, let’s customize it.
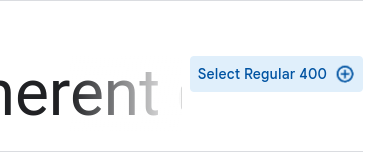
- Open Google Fonts (fonts.google.com) and click on Roboto. Click on View all styles.

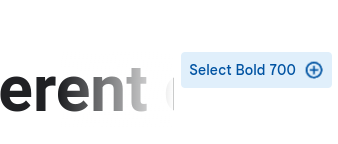
- Add font style, click on Select Regular 400 and Select Bold 700
- After selecting, click on the upper right corner of your Google Fonts, you will see the selected family icon.
- After clicking the icon, a right side panel will appear showing the selected styles as well as the code that you will copy for your html. Copy the <link> tag.

- In the <head> tag, paste the <link> tag from the Google Fonts and add the <link> tag for the CSS file.
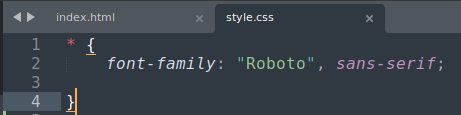
- Double click on style.css, to open it, remove the text from a while ago. Declare the font style. Make sure to save your changes and refresh your browser.
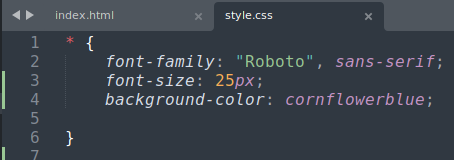
- Now, change the font-size and add a background color to the whole page.
NOTE: The asterisk (*) signifies as a universal selector, meaning it targets everything in the page.
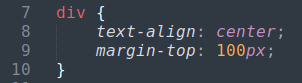
- Now let’s center the elements inside our <div> tag, add the following to your style.css.
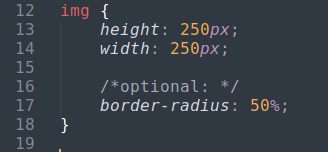
- Lastly, resize the image by adding the styles below. Make sure to save your changes and refresh your browser
- Expected final output:

- Save your image link through GDrive . Click on the New button on the upper left and select File Upload.

- Once the image is uploaded, right click on the image select Get Link. Set the General Access to Anyone with the Link

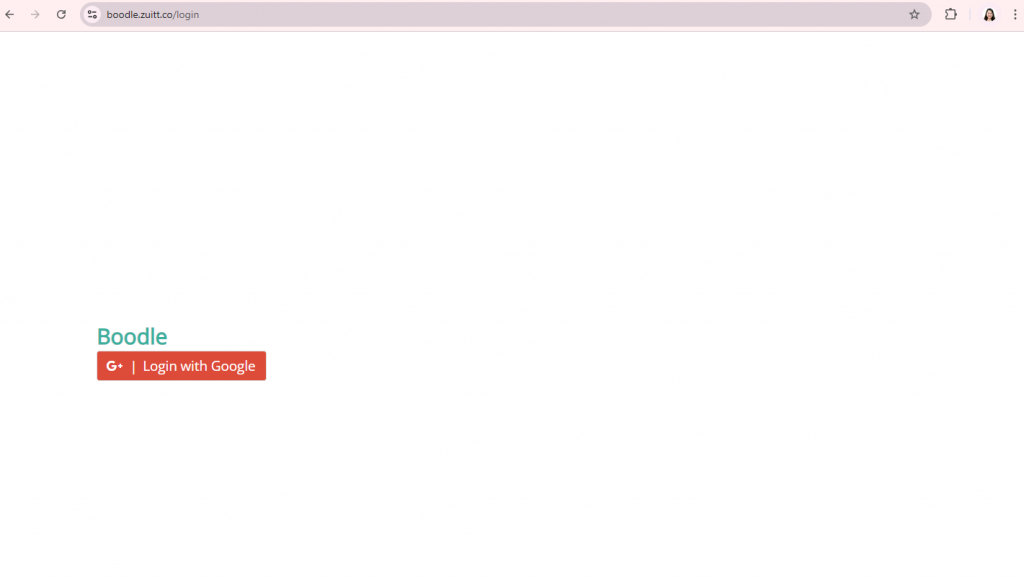
30. Log in to Boodle by clicking on this link (https://boodle.zuitt.co/login/). Make sure you are logged in to the email you provided to zuitt to access the app.
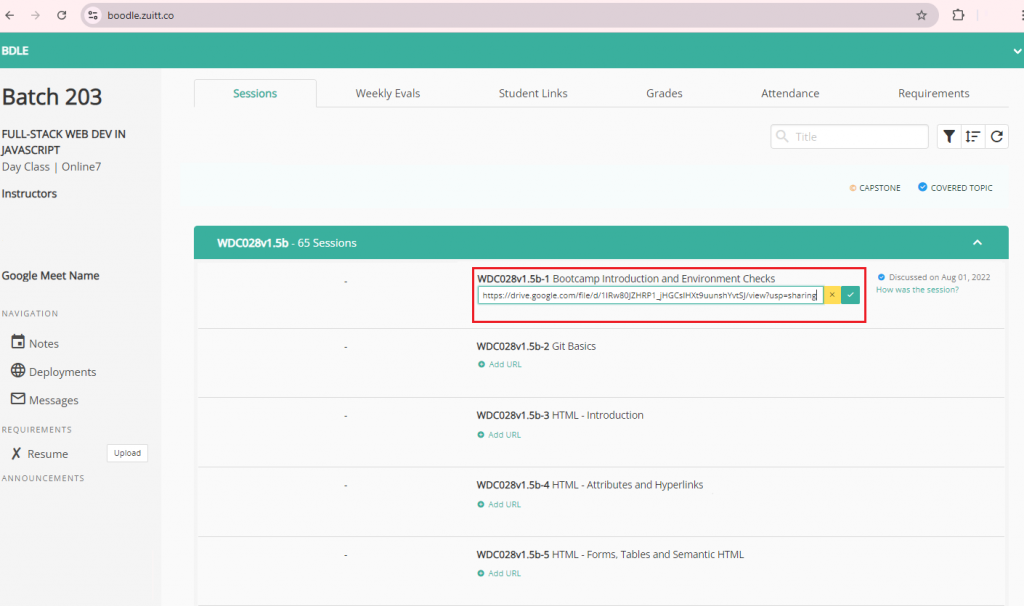
31. Look for the Add Url button under Bootcamp Introduction and Environment Checks and click on the button.

32. Upon clicking the button, an input field/box will appear which will allow you to add a link/URL to the previously copied link from google drive. Add the link and click on the check mark button to submit your output.
If you’ve stumbled upon this blog post and aren’t a bootcamper, you can begin your bootcamp journey with Zuitt by clicking this link: