
Software Versions
Use the following software versions to ensure compatibility and optimal performance on macOs systems:
- Python: 3.12.x
- pip: 25.x (bundled with Python 3.12.x and installed automatically)
- Django: 5.2.x
- XAMPP: 8.2.x
- MariaDB: 10.6.x – 11.x
Installer Links:
Refer to the links below to download the official installers and access detailed step-by-step installation instructions
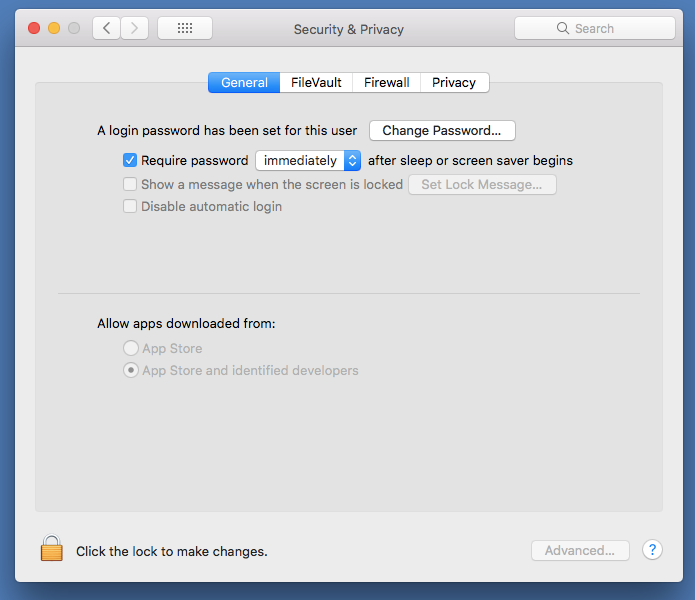
Allow Apps from App Store and Identified Developers
Instructions
Before installing apps downloaded online:
- Open System Preferences → Security & Privacy
- Go to the General tab
- Click the lock icon and enter your password
- Select App Store and identified developers
Reference: https://support.apple.com/en-us/102445
Google Chrome
Step 1: Go to Chrome’s official website.
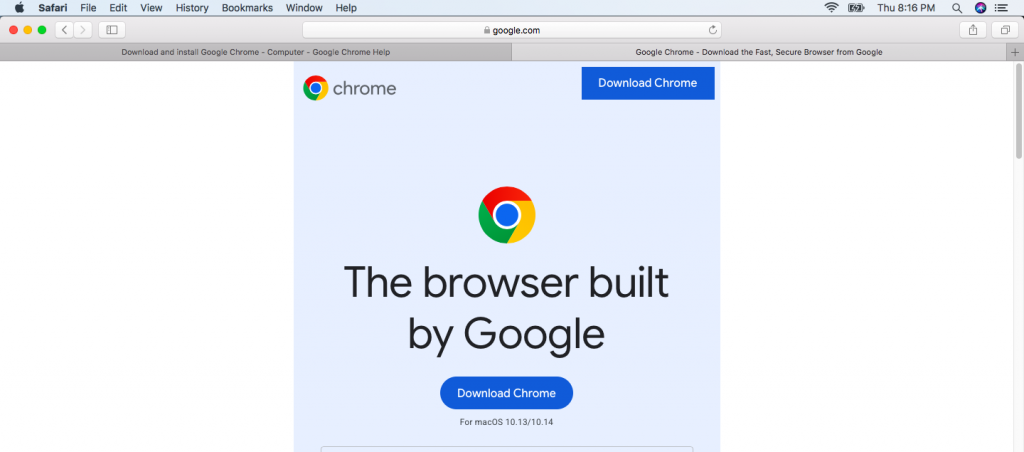
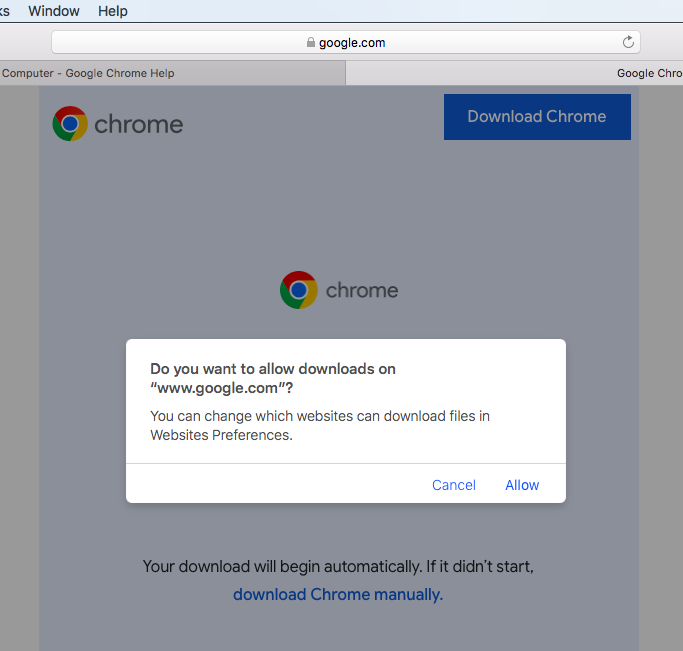
Step 2: Click Download Chrome, then Allow if prompted.
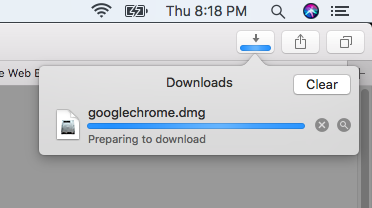
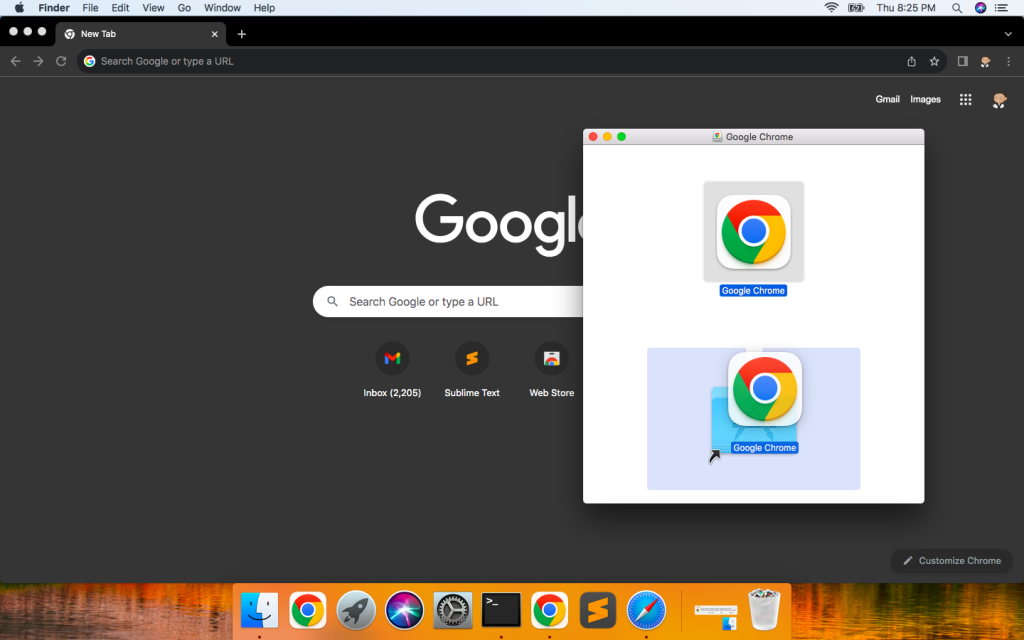
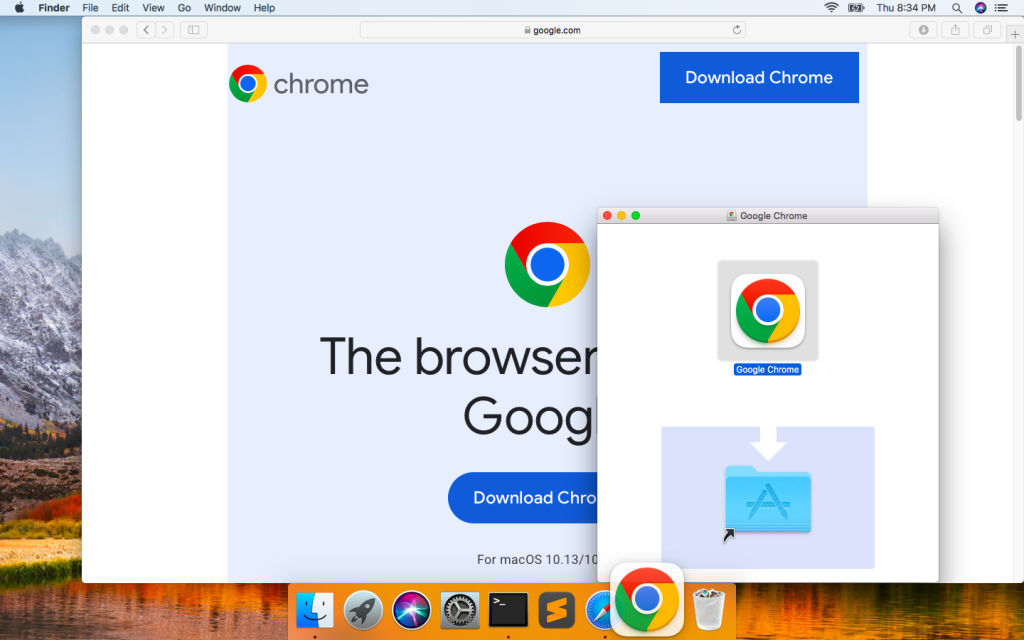
Step 3: Open the downloaded .dmg file to mount the installer.
Step 4: Drag the Chrome.app into the Applications folder.
Step 5: Drag Chrome to the Dock for easy access.
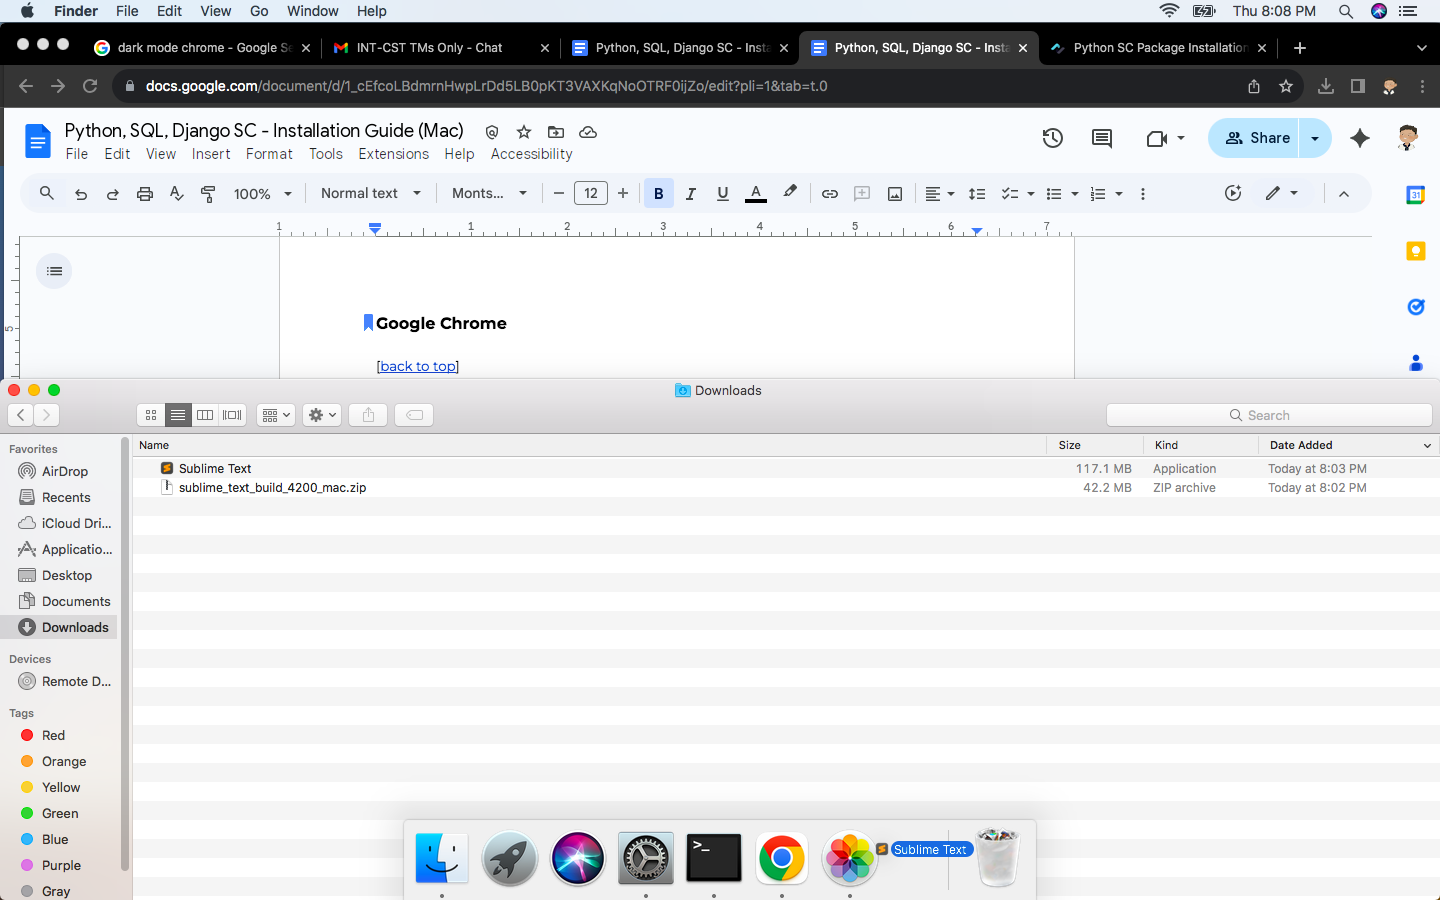
Sublime Text
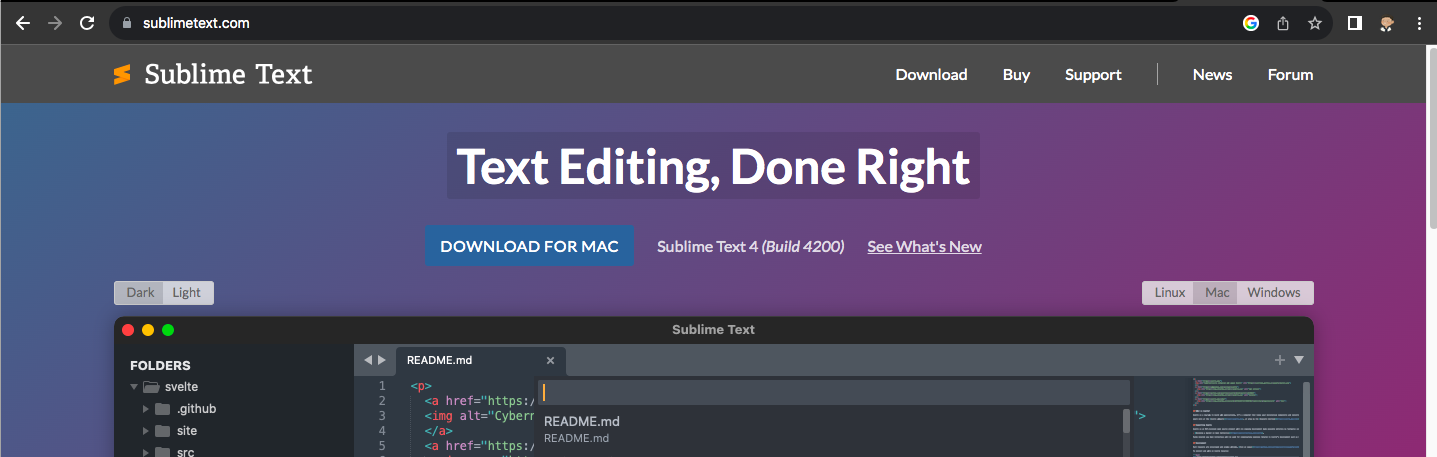
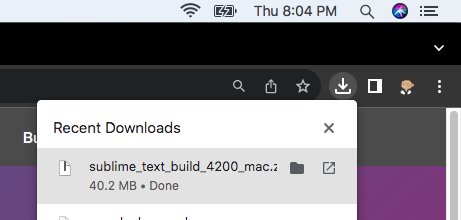
Step 1: Visit Sublime Text’s official download page and click Download for Mac.
Step 2: Open the downloaded .dmg file. Sublime installs automatically.
Step 3: Drag Sublime Text to your Dock.
Homebrew and Git
Step 1: Install Homebrew by opening Terminal and executing the command below:
/bin/bash -c "$(curl -fsSL https://raw.githubusercontent.com/Homebrew/install/HEAD/install.sh)"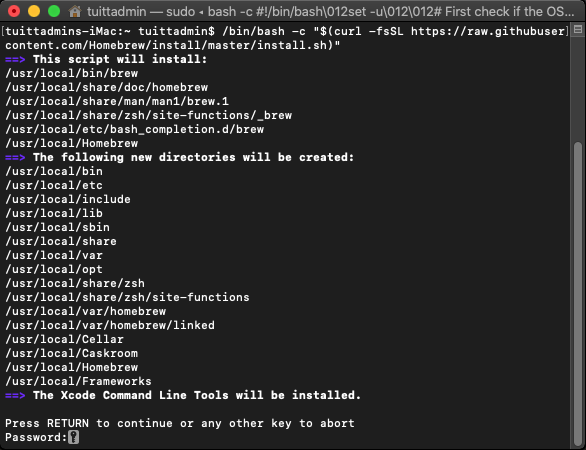
Note: You may be asked for your Mac password. Type it and press Enter.
The cursor will not move while typing your password. This is normal.
Step 2: Wait for the installation to finish.
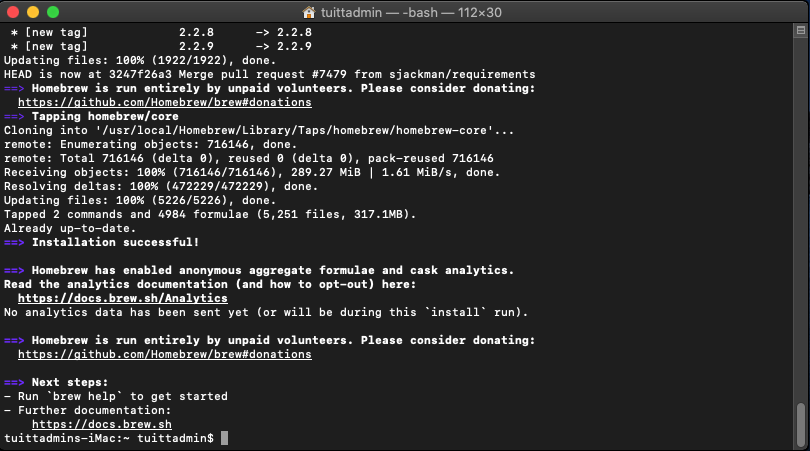
Note: The installation may take several minutes depending on internet speed.
Step 3: Verify Installation.
Check if Homebrew and Git are installed correctly:
brew -v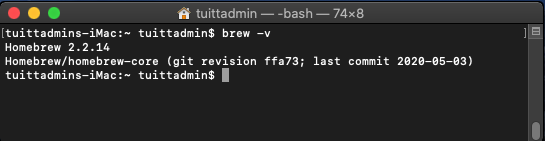
git --version
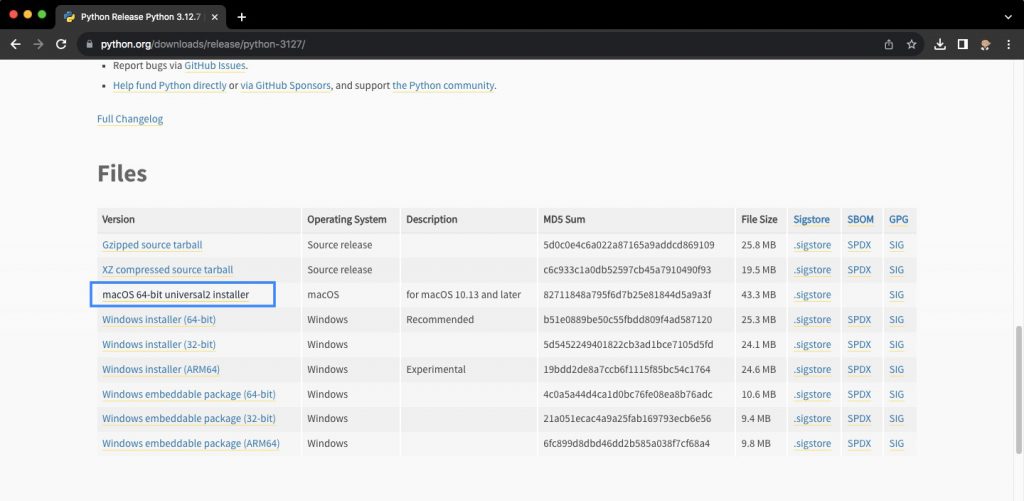
Python
Step 1: Go to Python’s official website.
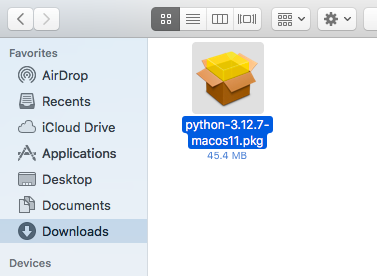
Step 2: Open your Downloads folder and double-click the installer.
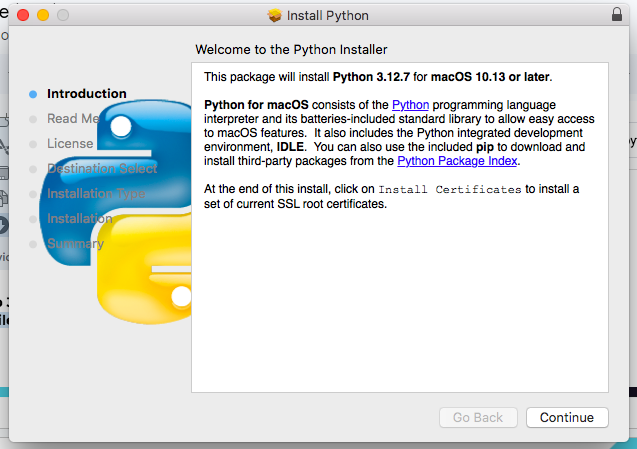
Step 3: Click Continue through the setup prompts.
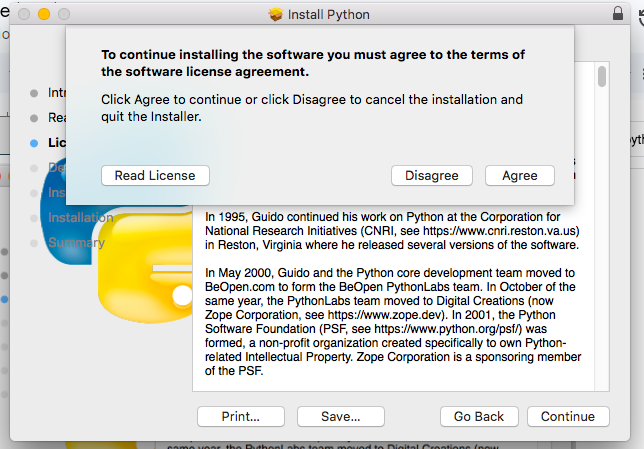
Step 4: Click Agree when the license window appears.
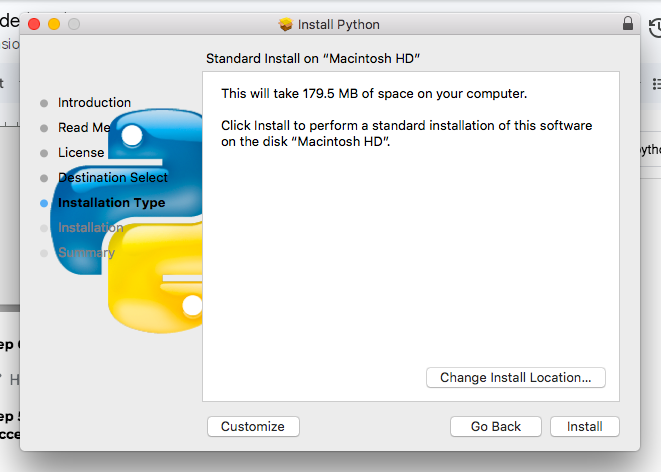
Step 5: Click Install to begin installation.
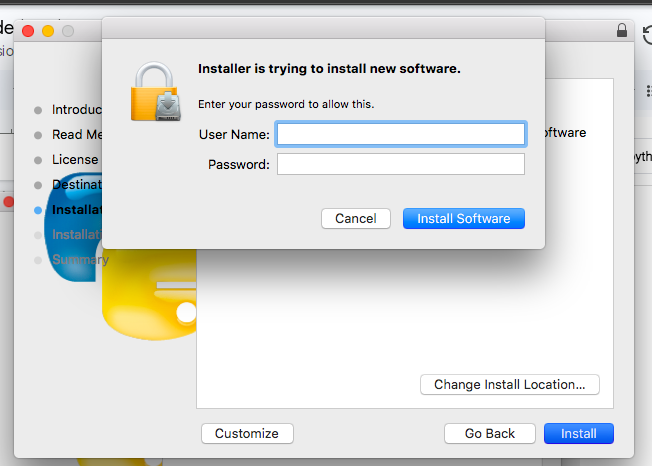
Step 6: Enter your Mac username and password when prompted.
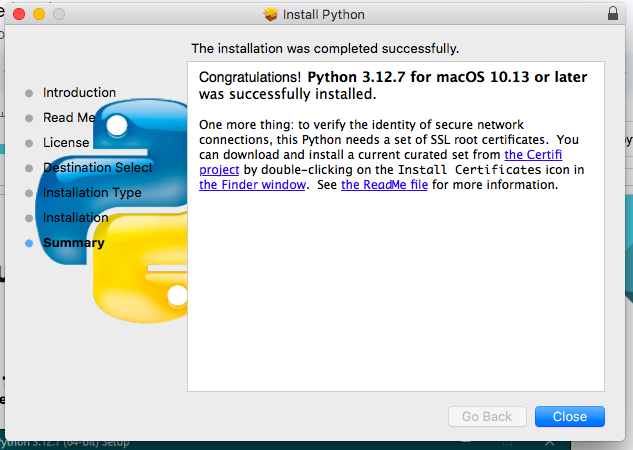
Step 7: Wait for installation to complete, then click Close.
Step 8: Verify Installation.
Open Terminal and run:
python3 --version
pip3 --version
Note: You should see a version number displayed like Python 3.12.x, confirming that Python is installed successfully.If pip is not version 25 or higher, run pip3 install –upgrade pip to update it.
Django
Step 1: Install Django.
Open Terminal and execute:
python3 -m pip install Django==5.2.7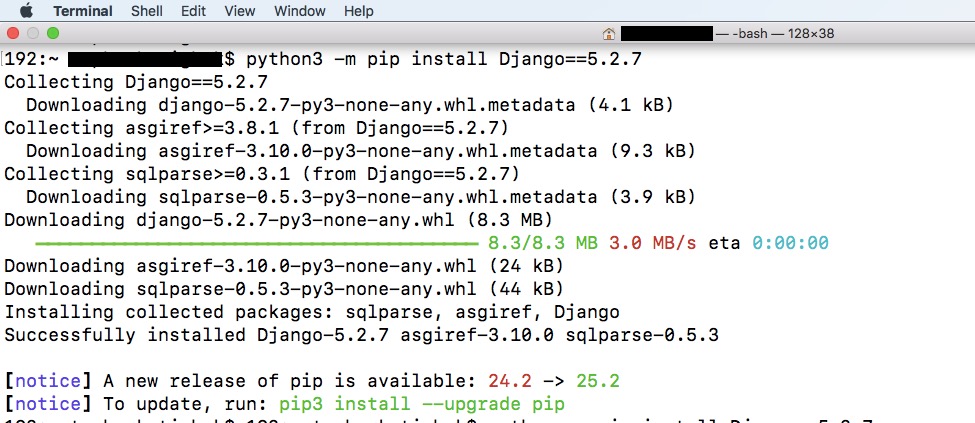
Step 2: Verify that Django is installed correctly by opening your Terminal and running the command python3 -m django –version as shown in the image.

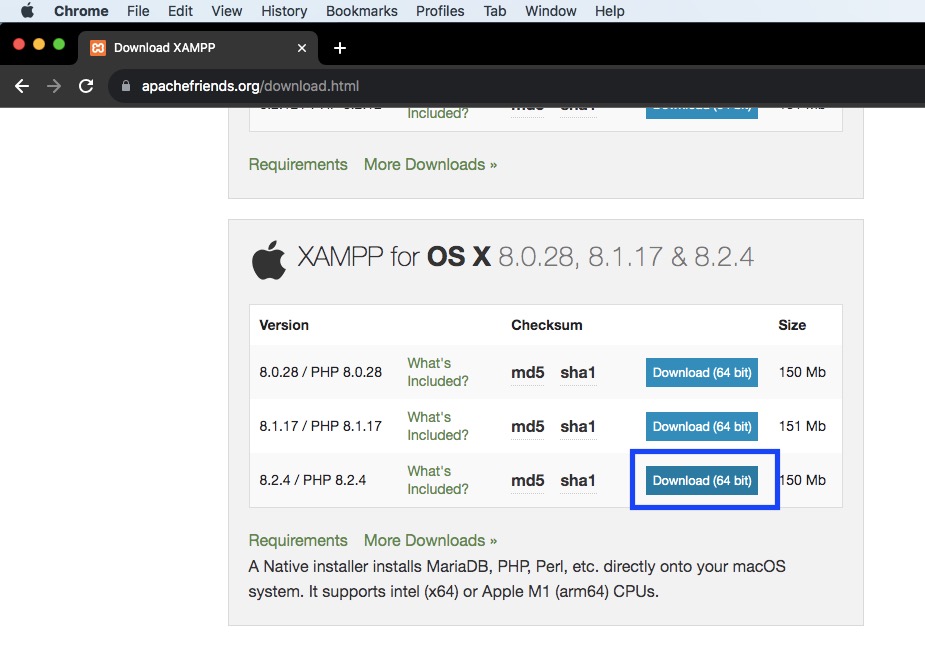
XAMPP
Step 1: Go to the official XAMPP website.
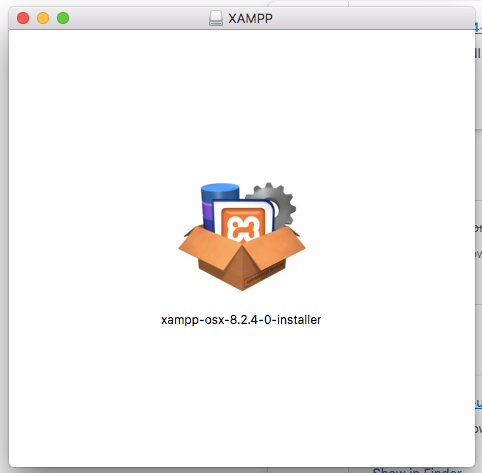
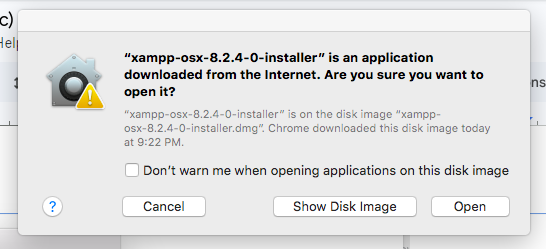
Step 2: Open the downloaded file to start the installer, and when the window appears, click the big open box icon as shown in the image.
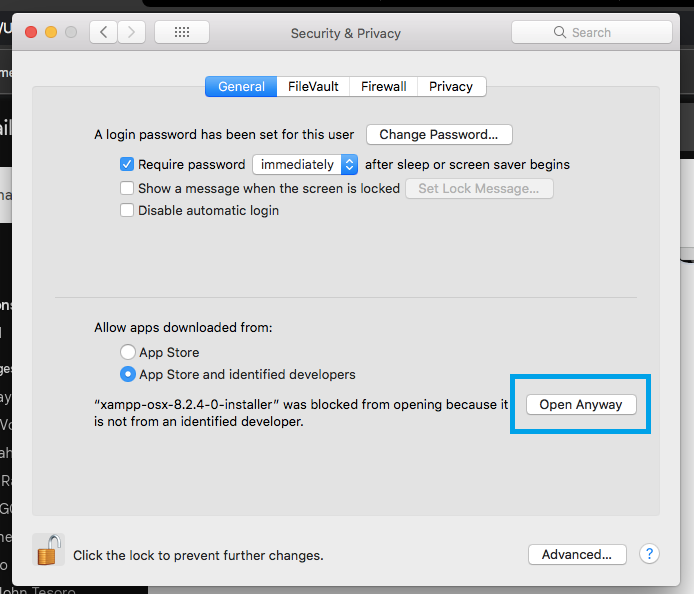
Step 3: If blocked by macOS security, follow these:
Warning: Can’t be opened because it is from an unidentified developer.

a.) Open System Preferences → Security & Privacy, click Open Anyway, and then click Open to proceed.
b.) If another warning window appears, click Open to continue the installation.
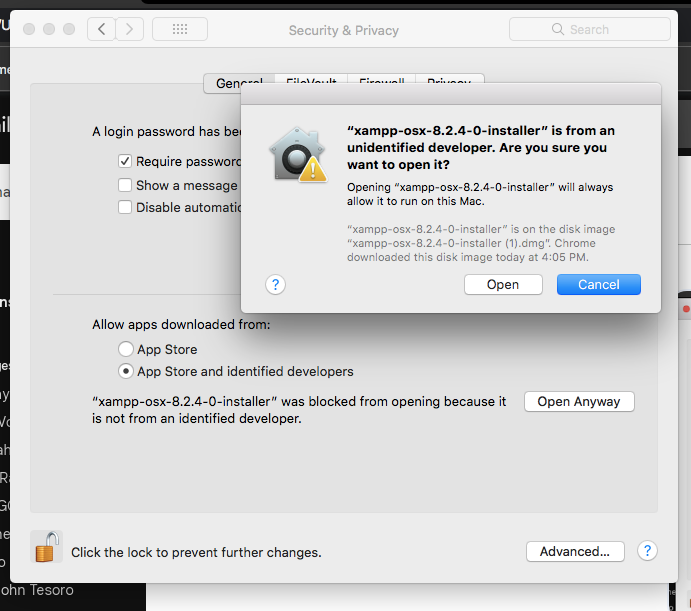
c.) A warning window like the image below might appear, just click Open.
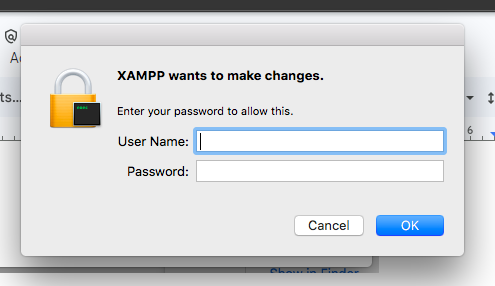
Note: A window might show that will require your device account credentials, input your device account user name and password:
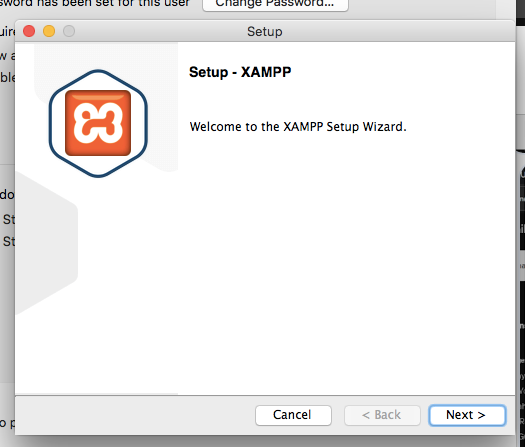
Step 4: In the setup window, click Next to begin the installation.
Step 5: Keep the default components selected, then click Next.

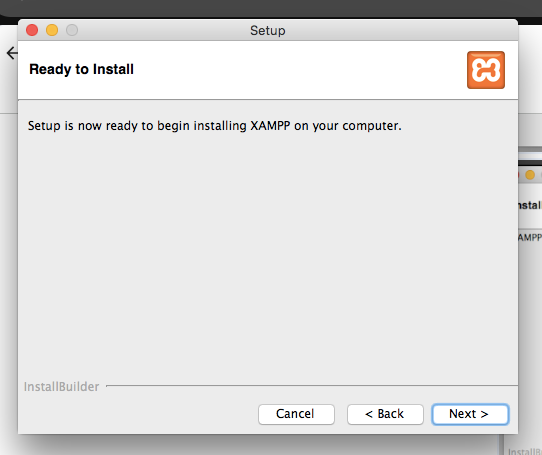
Step 6: A notice that a setup will begin will show, just click Next again
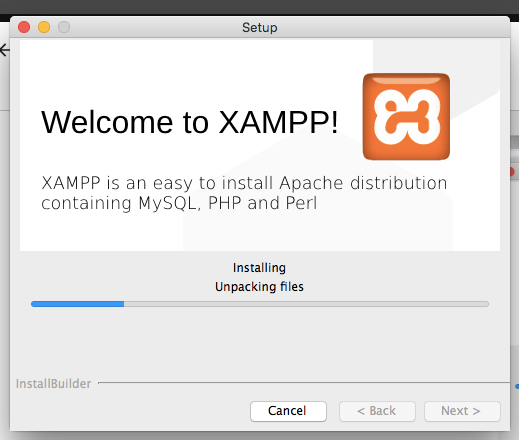
Step 7: Wait for the installation process to complete.
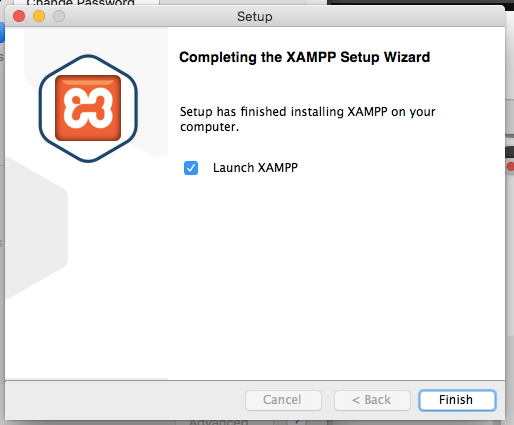
Step 8: Once installation is finished, keep the checkbox selected to automatically open the application, then click Finish.
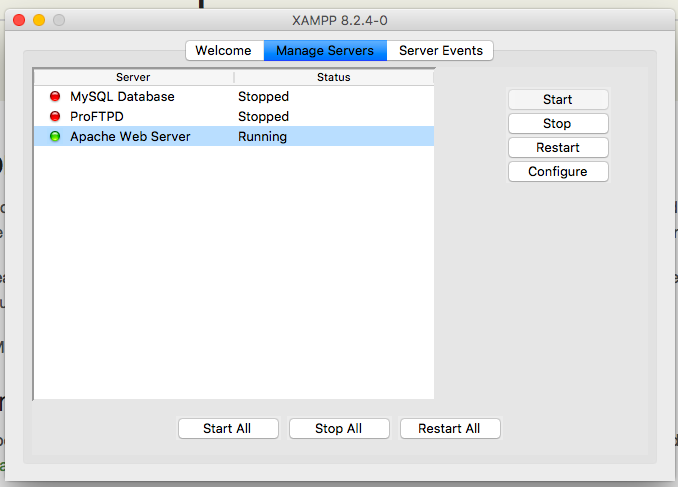
Step 9: The XAMPP Control Panel will open. Go to the Manage Servers tab to check if Apache is running.
Note: If Apache is not running, select Apache and click the Start button.Open Google Chrome and go to localhost/phpmyadmin to confirm that the phpMyAdmin web program works properly.
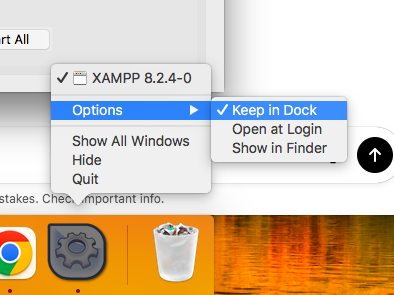
Step 10: After verifying the success of the install process, keep the Terminal in the dock by right-clicking the program in the dock and choosing the Keep in Dock option.
Step 11: Run the command below in your terminal to edit a file, allowing XAMPP terminal commands.
sudo nano ~/.bash_profile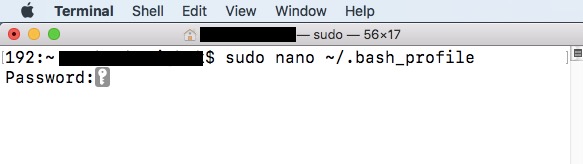
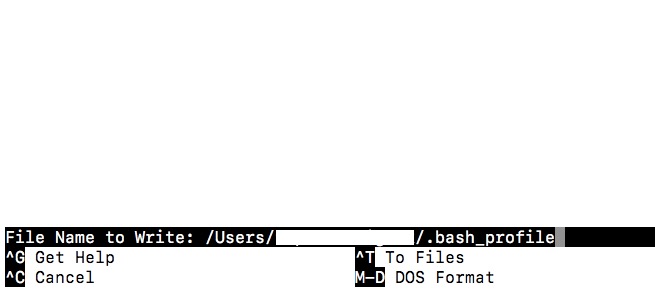
Step 12: A file will be opened in the terminal, add this line:
export PATH=/Applications/XAMPP/xamppfiles/bin:$PATH
Step 13: Press Ctrl+O to save the file (a file name will appear, just press Enter to confirm), then press Ctrl+X to exit the editor.
Step 14: Execute the command below to refresh Terminal settings.
source ~/.bash_profile
Step 15: Execute the following commands in the Terminal to determine that XAMPP has been configured properly for Terminal use:
which mysql
mysql --version
Note: The default MariaDB version installed on most systems is v10.4, which is not supported by Django 5.2.x. To ensure compatibility, you must use MariaDB 10.5 or higher, as Django 5.2.x requires at least that version for proper database connectivity and migrations.
MariaDB
Step 1: First you may need to update your brew installation:
brew updateStep 2: Then to upgrade MariaDB Server
brew upgrade mariadbStep 3: Once done, check the updated version.
mysql --version
Session 0: Environment Checks Activity
Diagnostic Script Tool for Python (Mac)
Goal: Verify that all necessary software and applications are installed on your machines (computers).
Directions: Follow the set of instructions below.
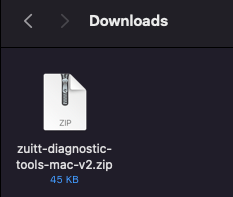
Step 1: Download the zip file here: zuitt-diagnostic-tools-mac-v2.zip
Step 2: Double click the file: zuitt-diagnostic-tools-mac-v2.zip, this will cause automatic extraction of zuitt-diagnostic-tools-mac-v2.zip folder.
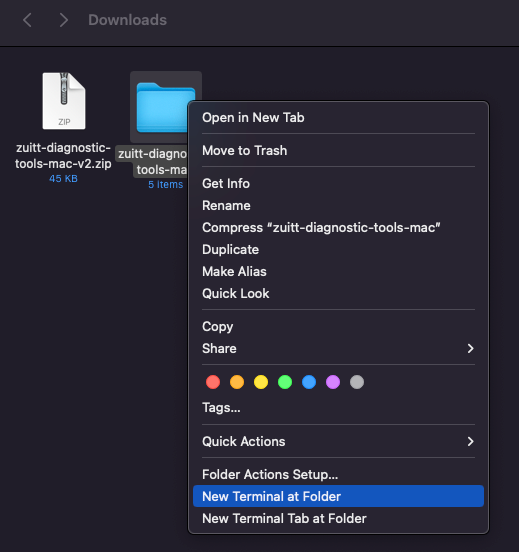
Step 3: On the same folder of your zip file, you should be able to see a new folder zuitt-diagnostic-tools-mac-v2. All required content should be inside this directory. Right click to this folder and open a new terminal window.
Step 4: You can run diagnostics for Python by passing it as an argument to the script:
./run_diagnostics.sh python
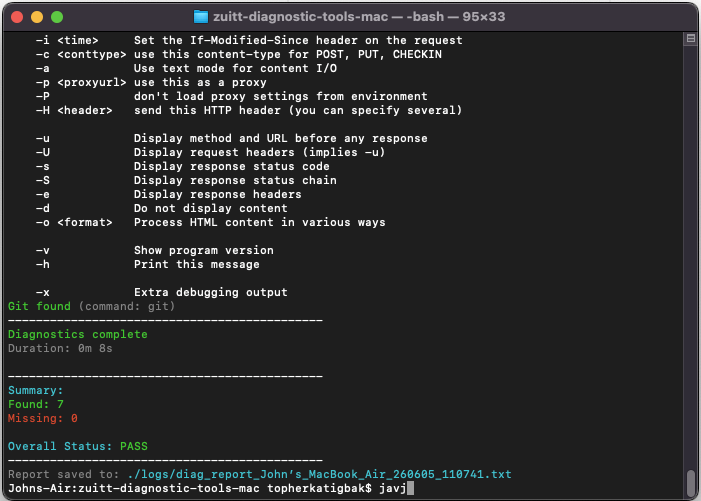
Note: If any applications, tools, or software are missing, install them first, then re-run the command.
Step 5: After running the diagnostic tool, a text file will be generated inside the logs folder.
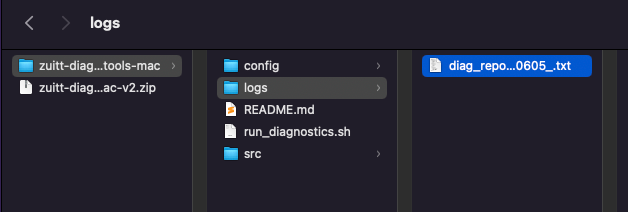
Inside the .txt file
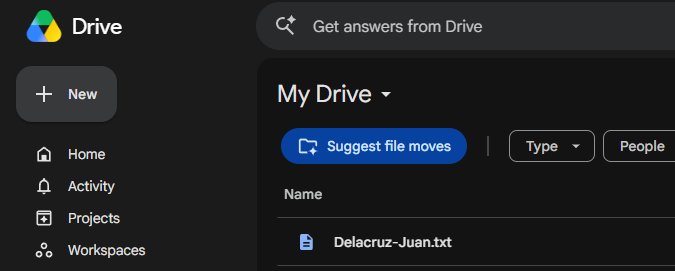
Step 7: Save the .txt file to your Google Drive and rename it using the format <LastName>-<FirstName>.
Example: Delacruz-Juan.txt
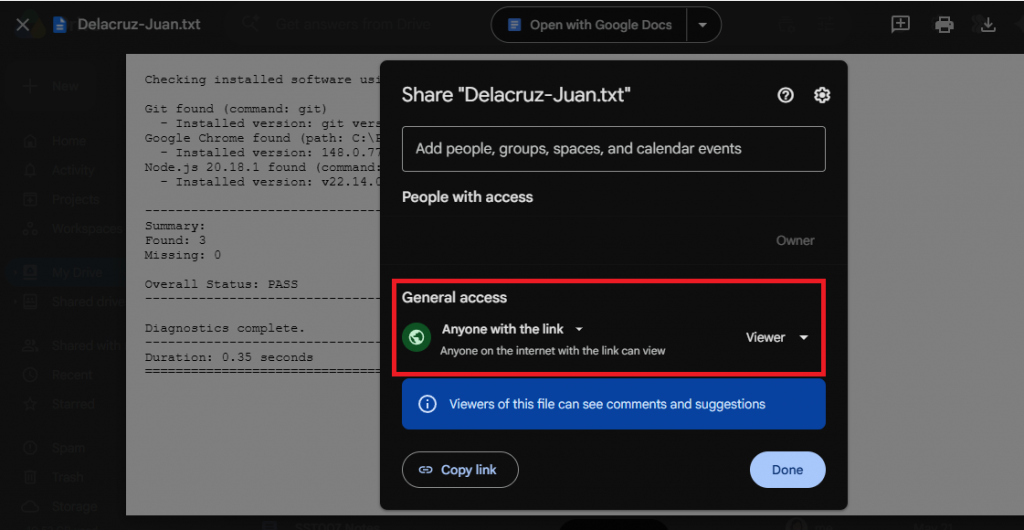
Make sure the file’s sharing settings are set to Anyone with the link can view. Then, submit the Google Drive link to your instructor on the first day of your class/session.
If you’ve stumbled upon this blog post and aren’t a bootcamper, you can begin your bootcamp journey with Zuitt by clicking this link: