
Software Versions
Use the following software versions to ensure compatibility and optimal performance on Windows systems:
- Python: 3.12.x
- pip: 25.x (bundled with Python 3.12.x and installed automatically)
- Django: 5.2.x
- XAMPP: 8.2.x
- MariaDB: 10.6.x – 11.x
Installation Instruction Links
Refer to the links below to download the official installers and access detailed step-by-step installation instructions
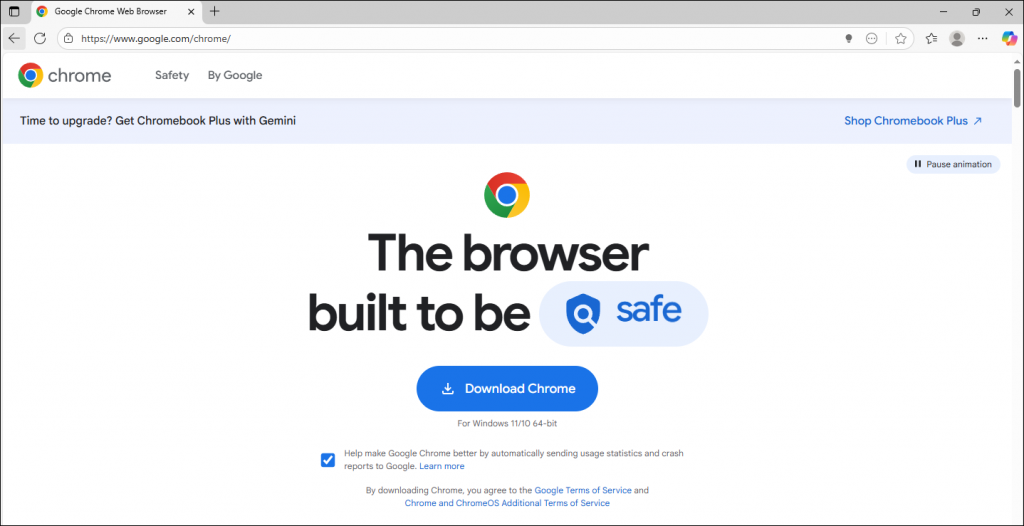
Google Chrome
Step 1: Go to Chrome’s official website.
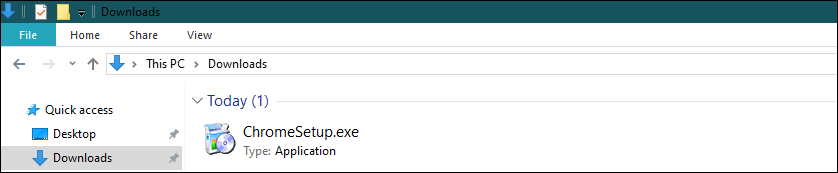
Step 2: Open your Downloads folder and check that the Chrome installer has been downloaded.
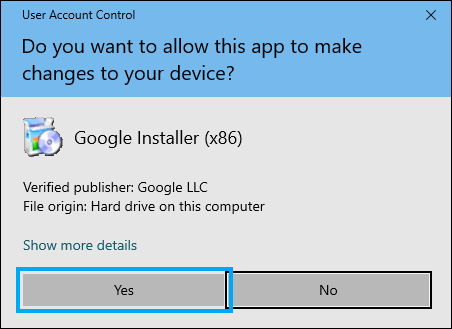
Step 3: When the User Account Control window appears, click Yes to allow the app to make changes to your device.
Step 4: Wait for the installation to complete, then click Close once done.
Step 5: After installation, Chrome will automatically open. You can now start using it.
Sublime Text
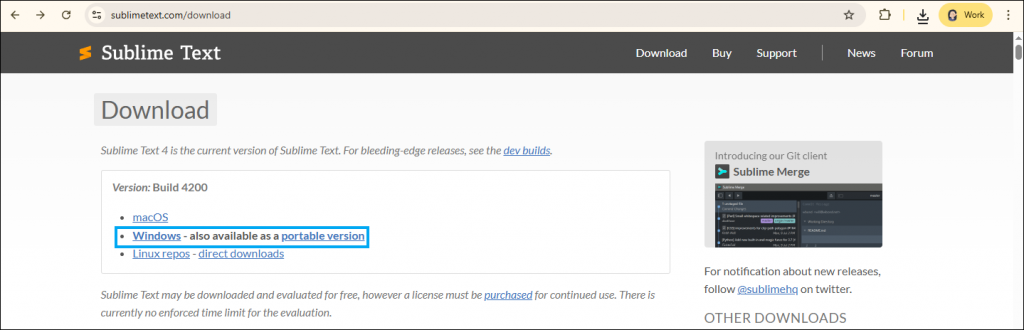
Step 1: Go to Sublime Text’s official website.
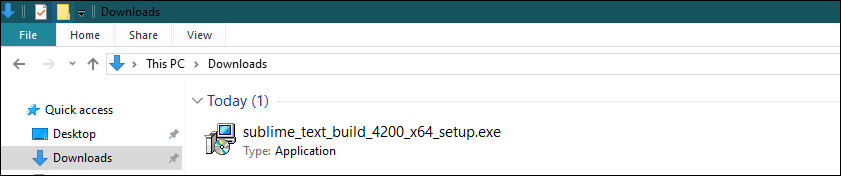
Step 2: Open your Downloads folder and check that the Sublime Text installer has been downloaded.
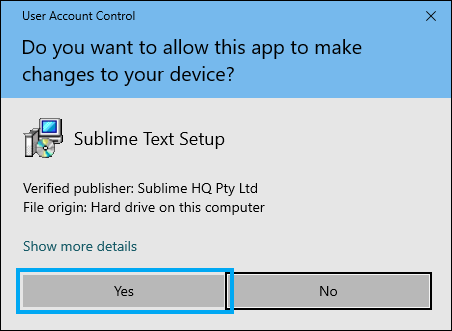
Step 3: When the User Account Control window appears, click Yes to allow the app to make changes to your device.
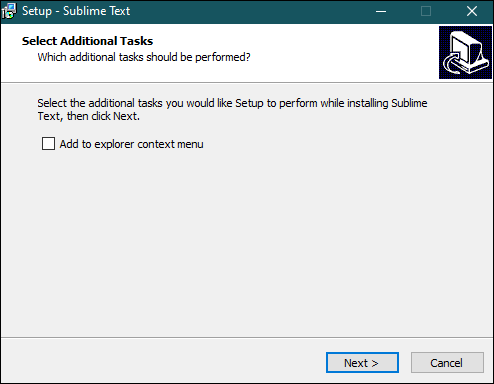
Step 4: In the setup window, click Next.
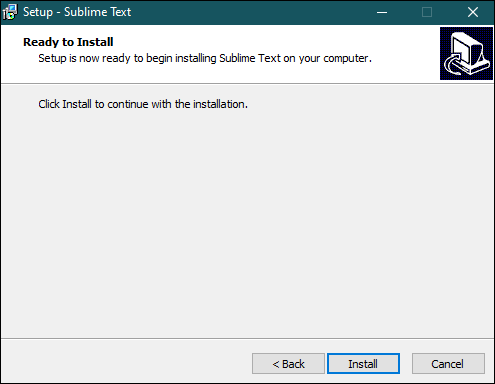
Step 5: Click Install to begin the installation process.
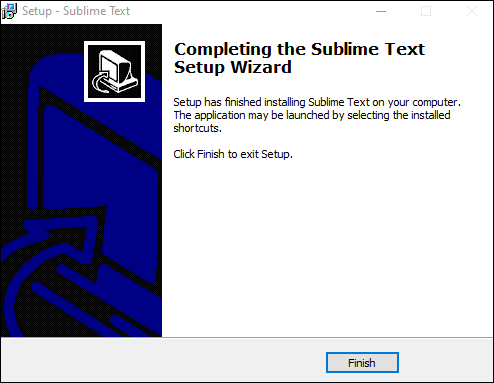
Step 6: Once installed, click Finish to close the setup wizard.
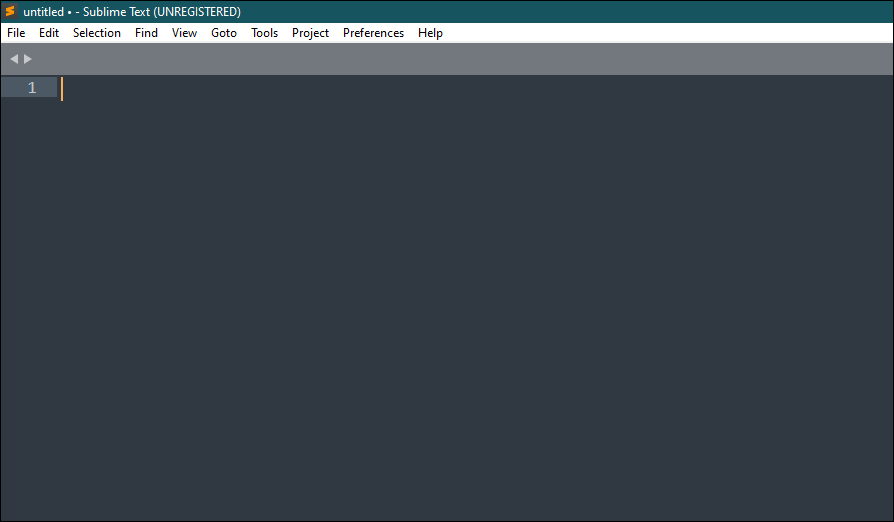
Step 7: After installation, launch Sublime Text from the Start menu or Desktop shortcut. You can now start using it.
Git
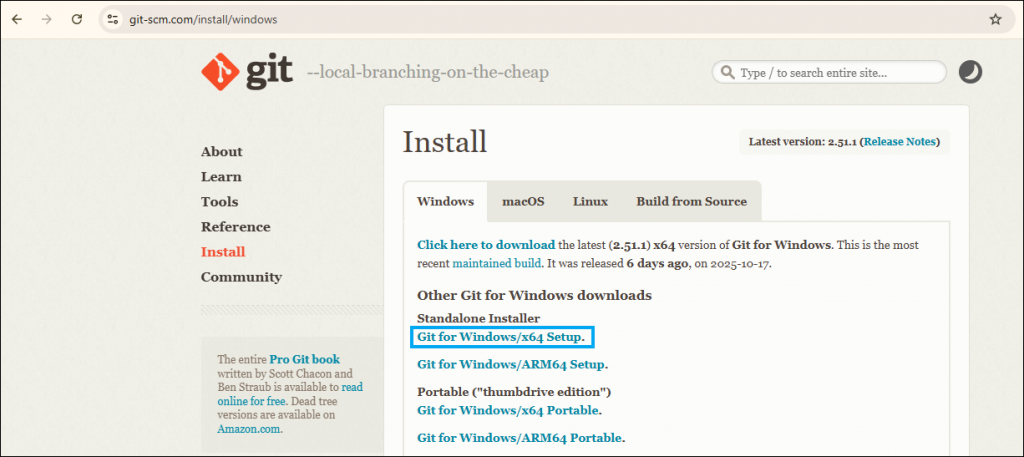
Step 1: Go to Git’s official website.
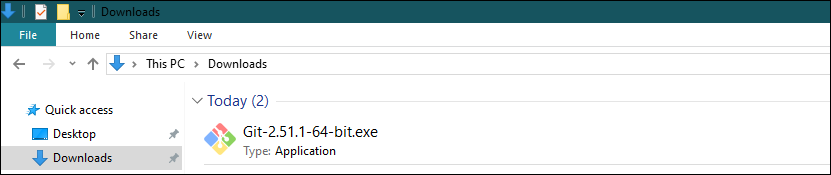
Step 2: Open your Downloads folder and check that the Git installer has been downloaded.
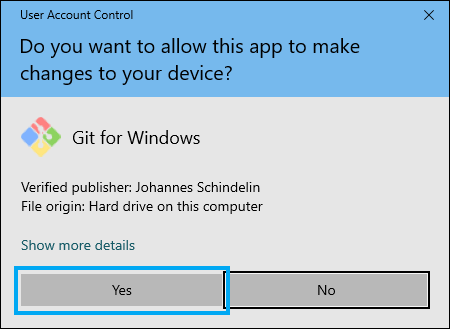
Step 3: When the User Account Control window appears, click Yes to allow the app to make changes to your device.
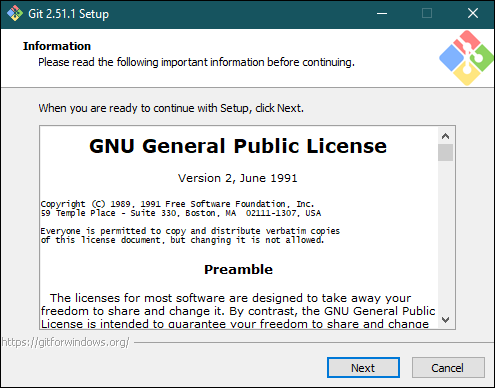
Step 4: In the setup window, read the license information, then click Next.
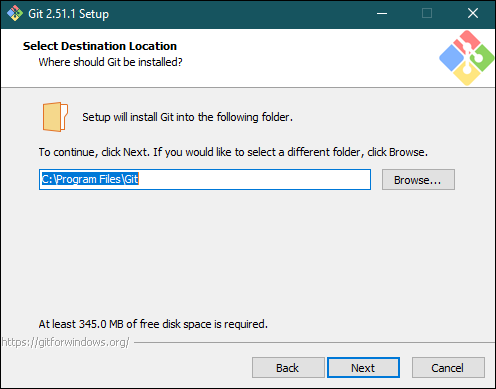
Step 5: Choose the destination folder for the installation. It is recommended to keep the default path, just click Next to continue.
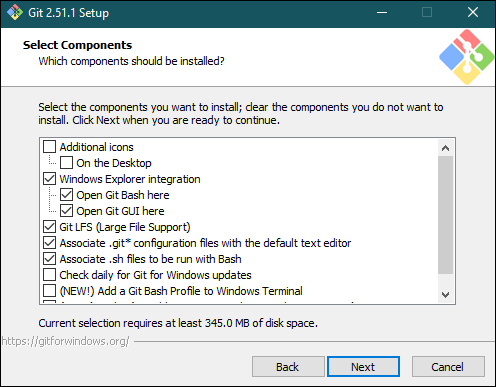
Step 6: Keep the default components selected, then click Next.
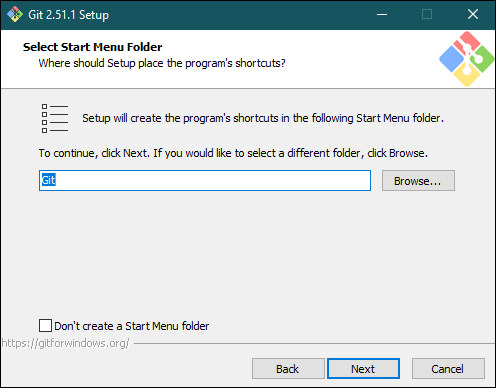
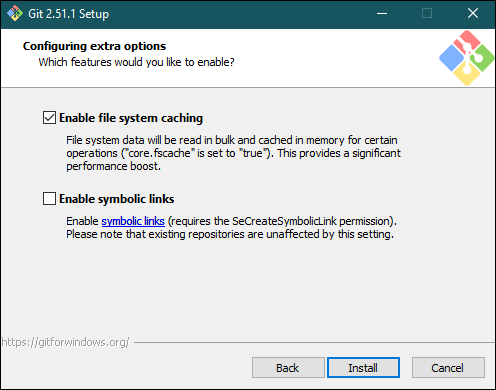
Step 7: Continue clicking Next on the following setup windows until you reach the Install button.
Step 8: Click Install to begin the installation process.
Step 9: Once installed, click Finish to close the setup wizard.
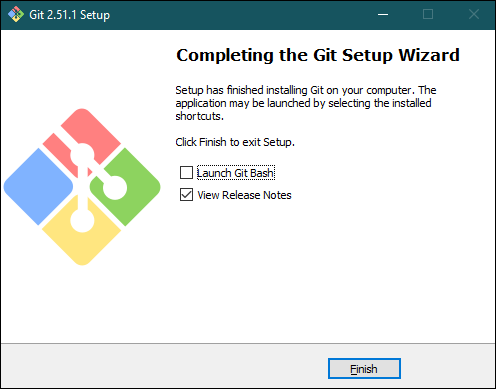
Step 10: After installation, open Git Bash from the Start menu. You can now start using Git.
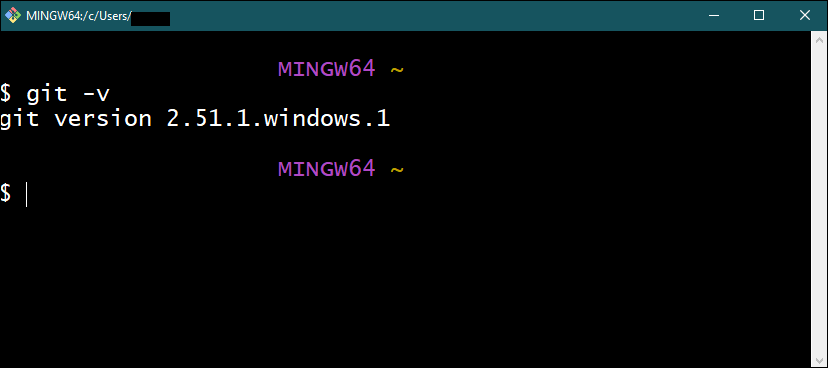
Open Git Bash and run git -v to verify that Git is installed correctly.
Python
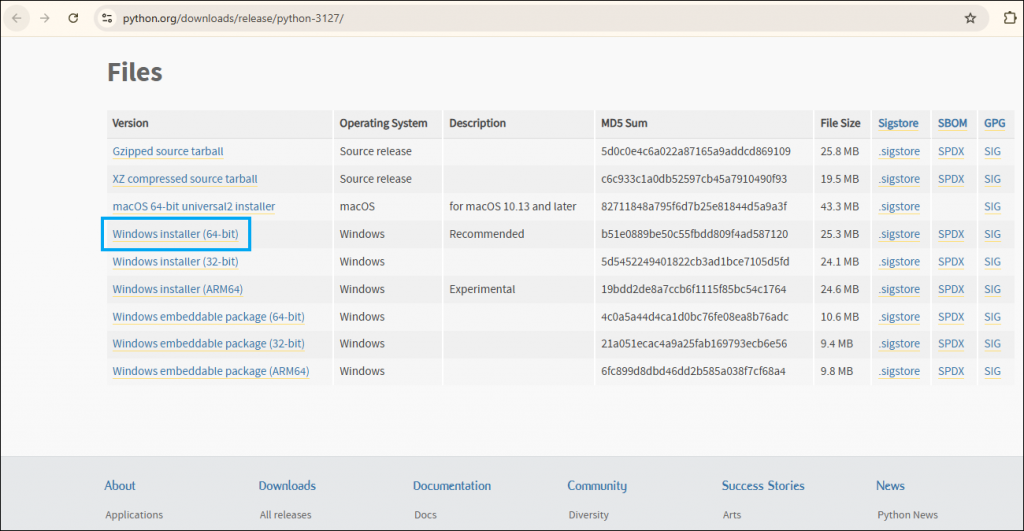
Step 1: Go to Python’s official website.
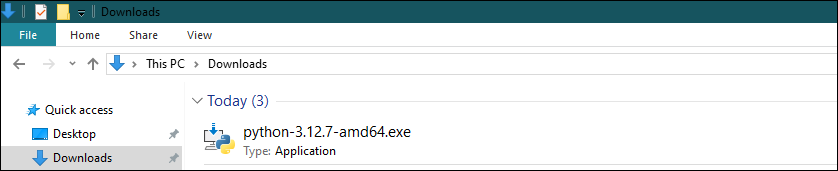
Step 2: Open your Downloads folder and check that the Python installer has been downloaded.
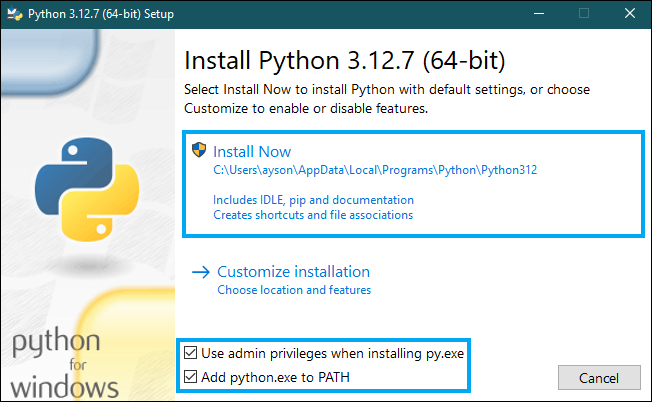
Step 3: In the setup window, check both Add python.exe to PATH and Use admin privileges when installing py.exe, then click Install Now.
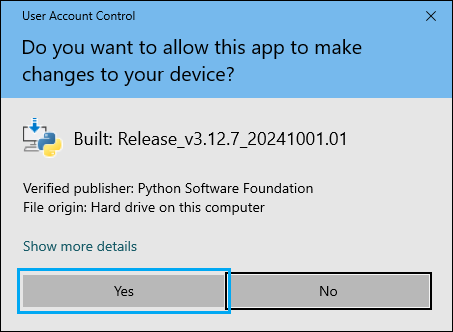
Step 4: When the User Account Control window appears, click Yes to allow the app to make changes to your device.
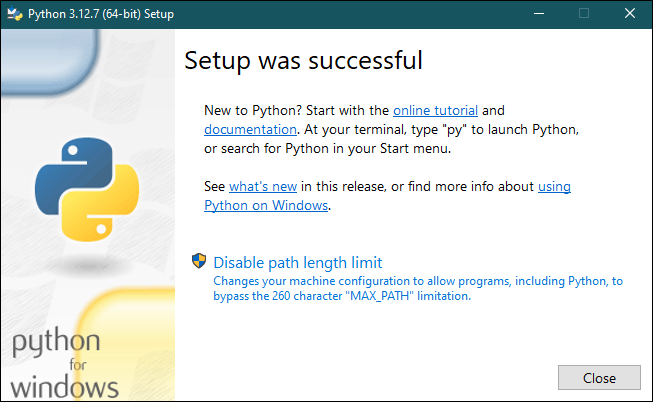
Step 5: Wait for the installation to complete, then click Close once you see “Setup was successful.”
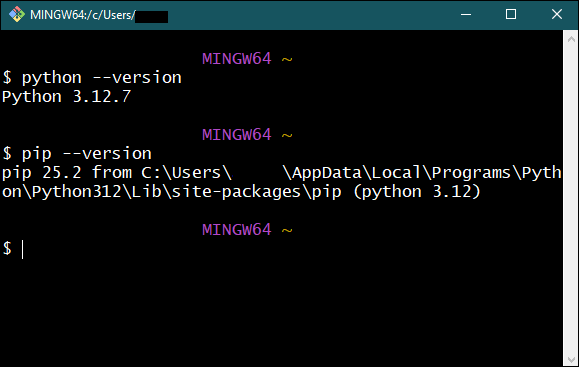
Step 6: After installation, open Git Bash or Command Prompt to confirm the installation.
Open Git Bash and run python –version and pip –version to verify that Python and pip are installed correctly.
Django
Step 1: Open Git Bash or Command Prompt, then install Django by running the command shown in the image.
python -m pip install Django==5.2.7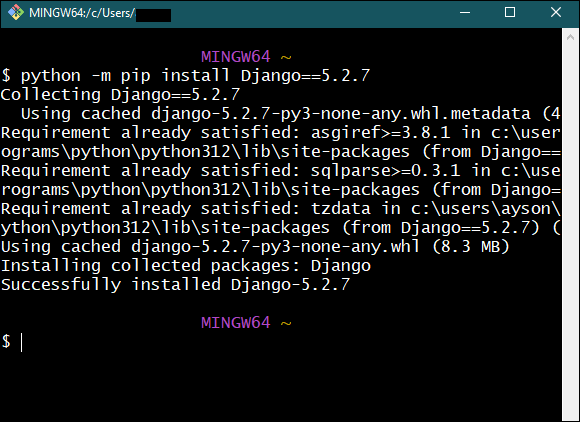
Step 2: Verify that Django is installed correctly by checking its version.
python -m django --version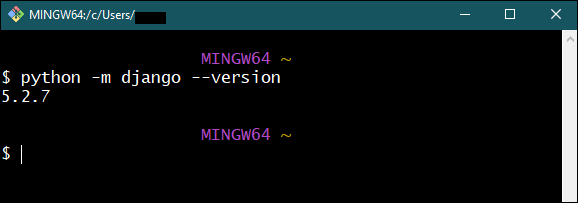
XAMPP
Step 1: Go to the official XAMPP website.
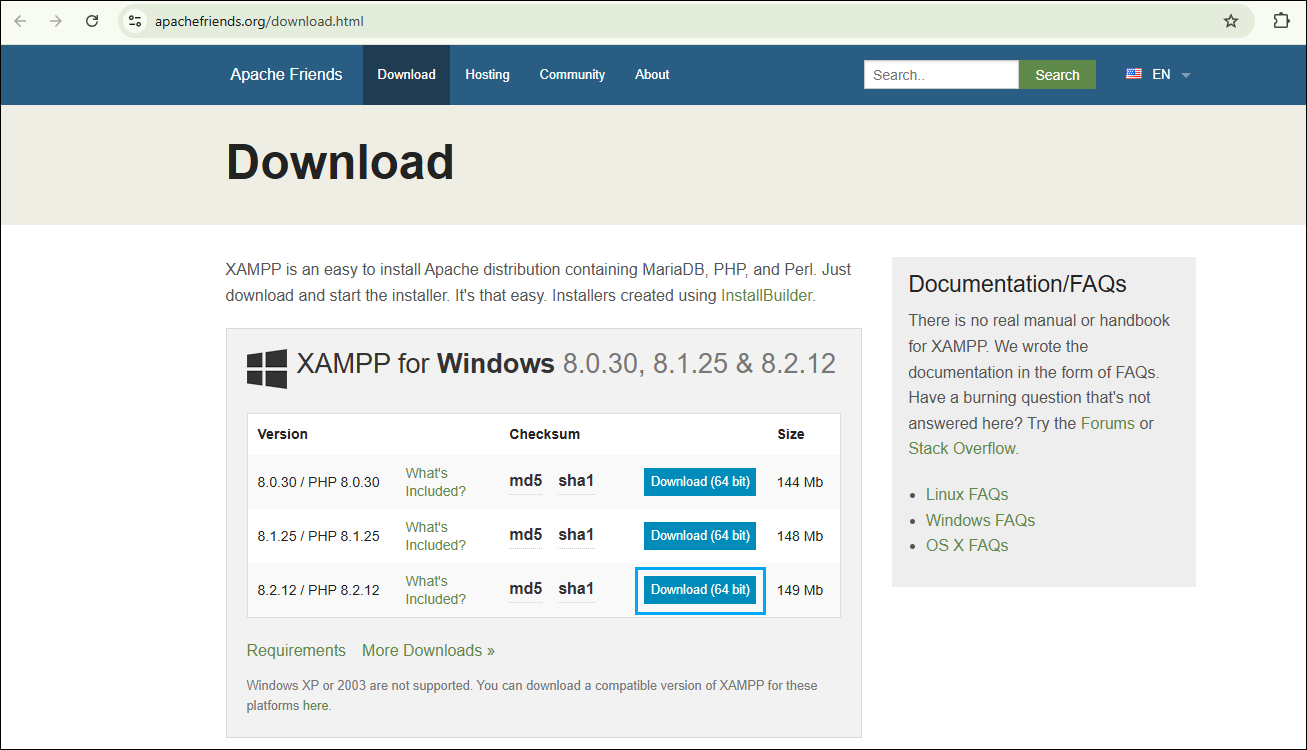
Step 2: Open your Downloads folder and check that the XAMPP installer has been downloaded.

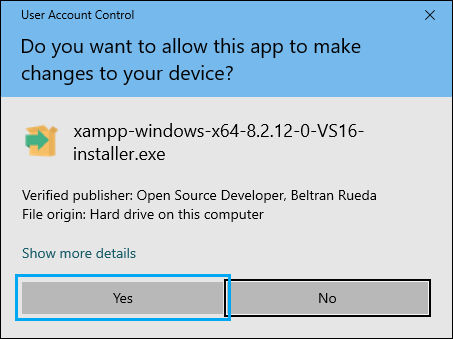
Step 3: When the User Account Control window appears, click Yes to allow the app to make changes to your device.
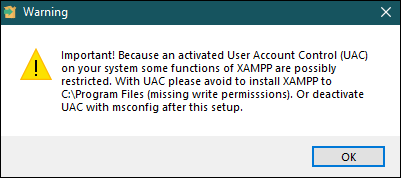
Step 4: A warning message may appear about limited permissions when installing under Program Files. Click OK to continue.
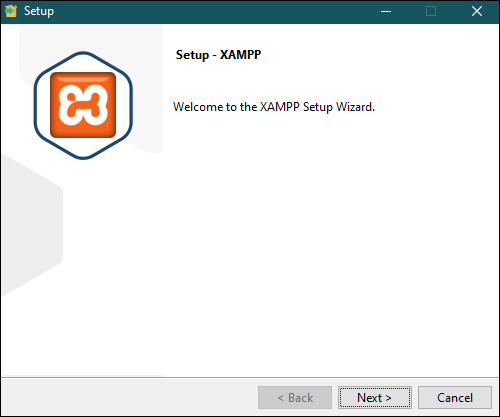
Step 5: In the setup window, click Next to begin the installation.
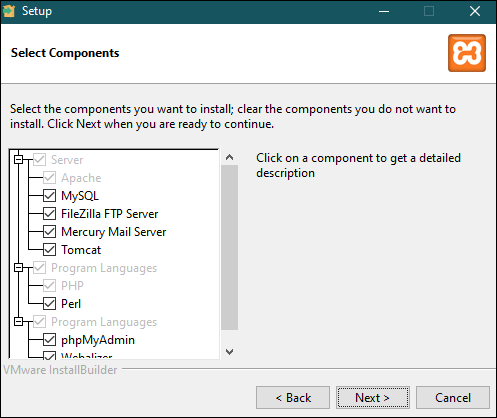
Step 6: Keep the default components selected, then click Next.
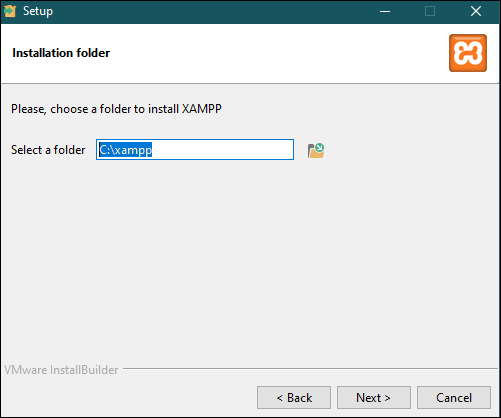
Step 7: Keep the default installation folder, then continue clicking Next until the installation begins.
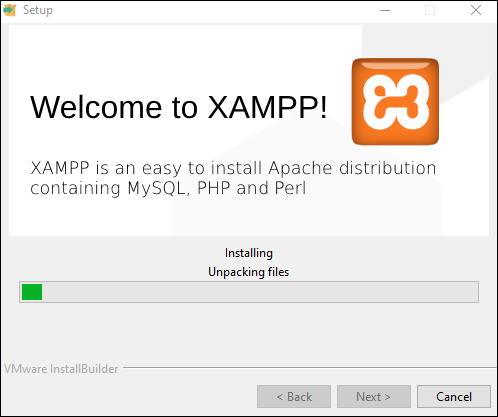
Step 8: Wait for the installation process to complete.
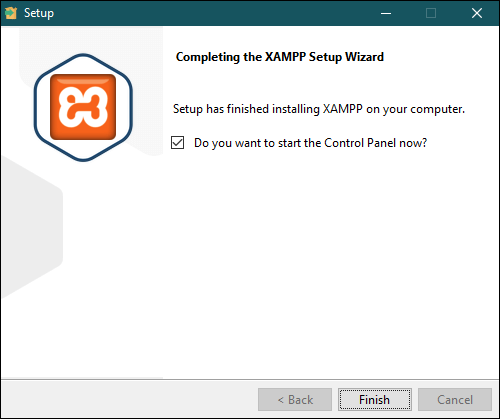
Step 9: Once installation is finished, keep the checkbox selected to start the XAMPP Control Panel, then click Finish.
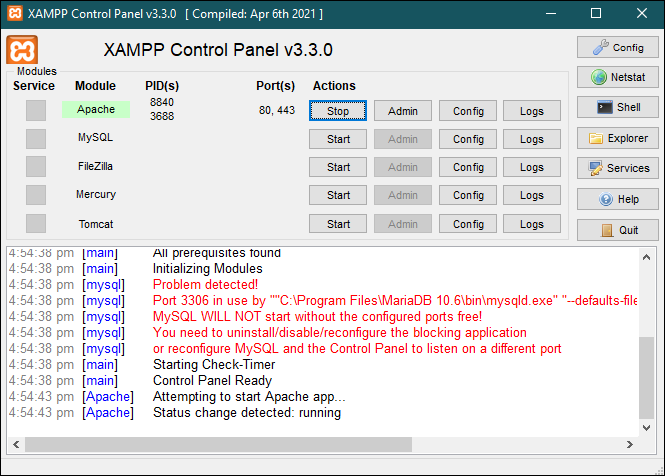
Step 10: The XAMPP Control Panel will open. Start Apache to verify that the installation is successful.

Note: If a warning message appears indicating that Port 3306 is already in use, it can be safely ignored. XAMPP includes a bundled MariaDB 10.4 database server, which is not compatible with Django 5.2.x.
For this setup, MariaDB 10.6–11.x will be used as the primary database instead.
MariaDB
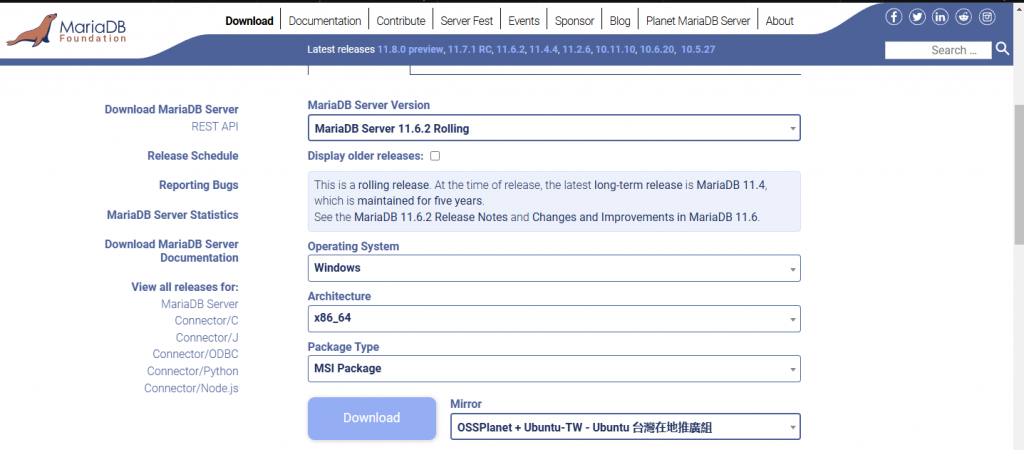
Step 1: Go to the official MariaDB download page.
Step 2: Open your Downloads folder and check that the MariaDB installer has been downloaded.

Step 3: When the setup wizard appears, click Next to continue.

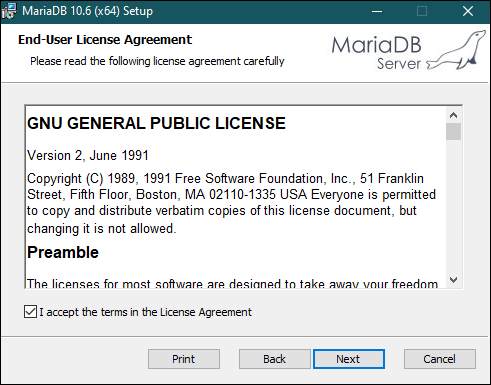
Step 4: Accept the license agreement by checking “I accept the terms in the License Agreement”, then click Next.
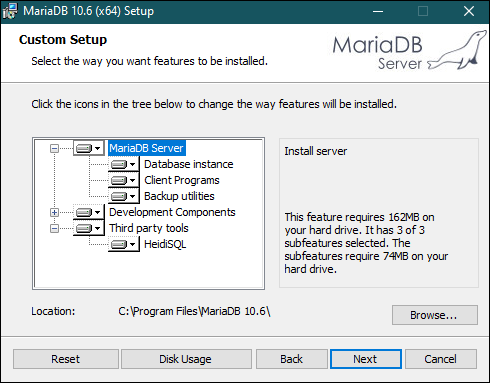
Step 5: Keep the default components selected, then click Next.
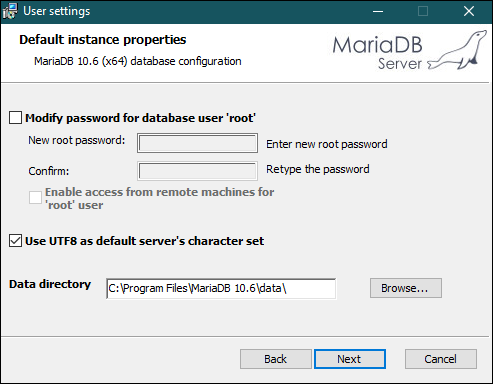
Step 6: Uncheck Modify password for database user ‘root’ and leave the root password fields blank. Ensure Use UTF8 as default server’s character set is checked, then click Next.
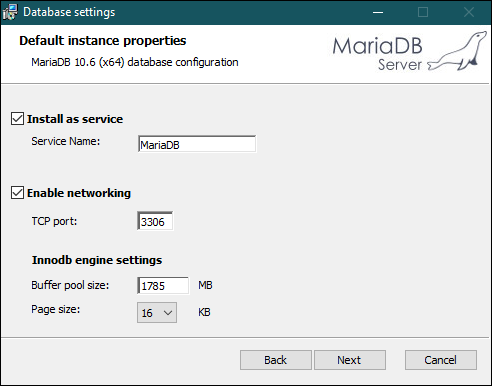
Step 7: Keep Install as service and Enable networking checked. Leave the TCP port as 3306, then click Next.
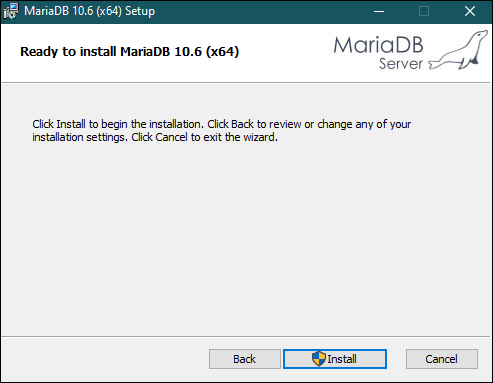
Step 8: Click Install to begin the installation.
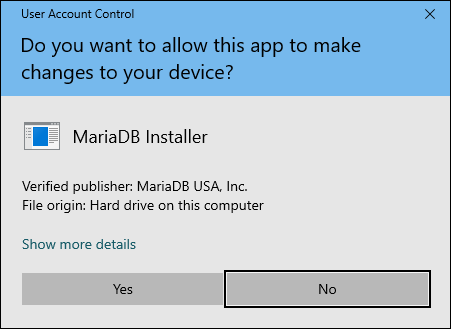
Step 9: When prompted by the User Account Control window, click Yes to allow the installation.
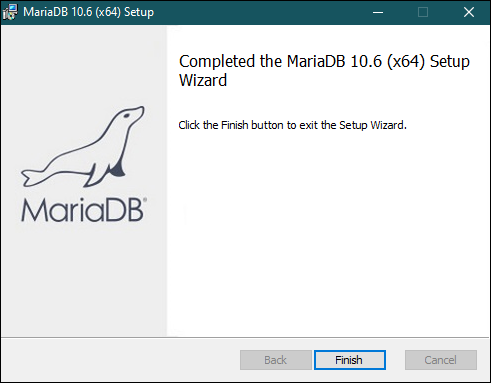
Step 10: Once the installation is complete, click Finish to close the setup wizard.
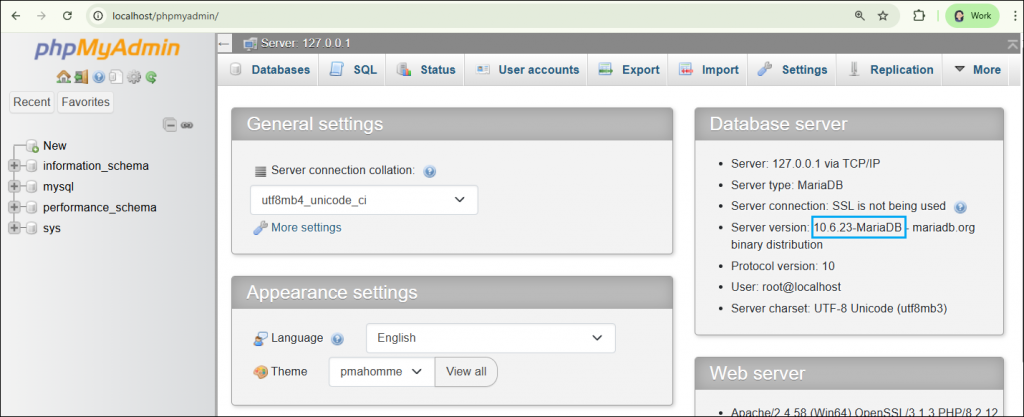
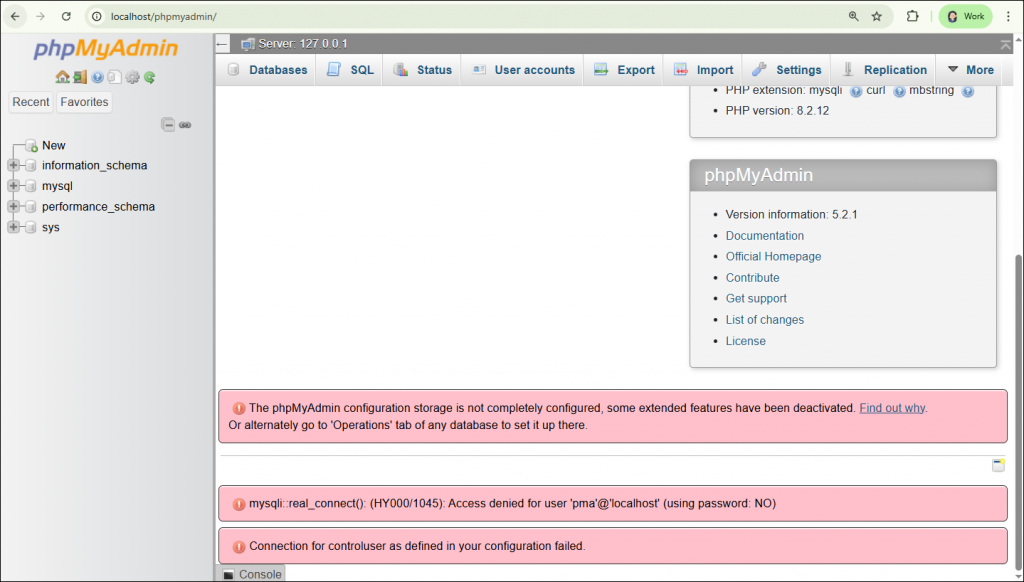
Step 11: Verify the installation via phpMyAdmin.
a.) Run Apache in the XAMPP Control Panel, then open a web browser and go to http://localhost/phpmyadmin/.
b.) Under Database Server, confirm that the version displayed is MariaDB 10.6.x – 11.x.
Note: If you encounter an error similar to the one shown below, you can safely ignore it.
This occurs because phpMyAdmin’s internal control user is not configured when the root account has no password. This is expected behavior for local and classroom setups, and phpMyAdmin will continue to function normally for managing databases.
Session 0: Environment Checks Activity
Diagnostic Script Tool for Python (Windows)
Goal: Verify that all necessary software and applications are installed on your machines (computers).
Directions: Follow the set of instructions below.
Step 1: Download the zip file here: zuitt-diagnostic-tools-win.zip
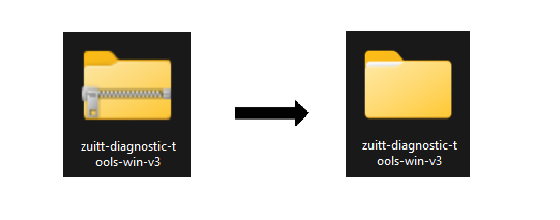
Step 2: Unzip the file: zuitt-diagnostic-tools-win-v3.zip
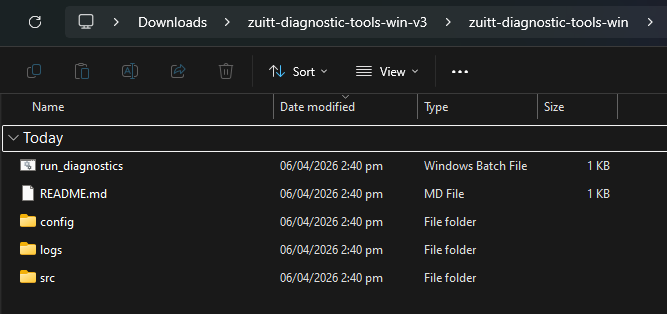
Step 3: Navigate to the zuitt-diagnostic-tools-win folder. All required content should be inside this directory.
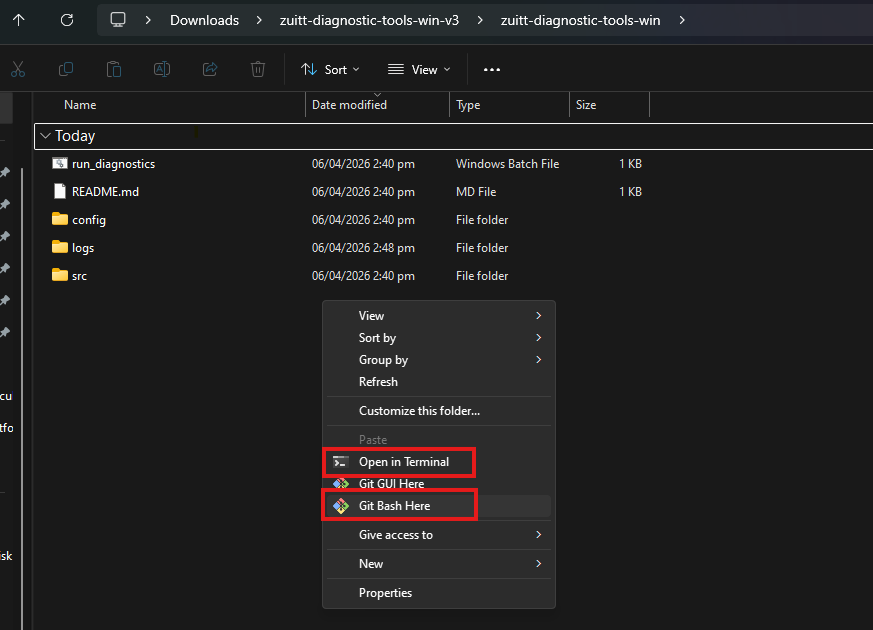
Step 4: Open your Git Bash/Terminal
Note: If Git is already installed, select “Git Bash Here.” Otherwise, choose “Open Terminal”
Step 5: You can run diagnostics for Python by passing it as an argument to the script:
./run_diagnostics.bat python
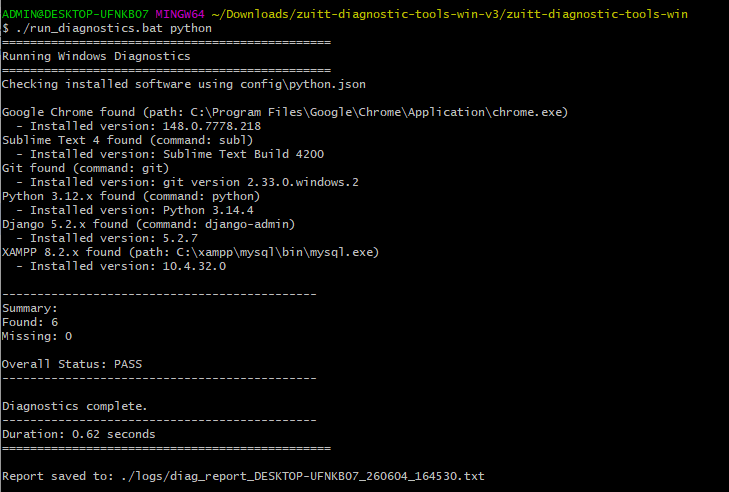
Note: If any applications, tools, or software are missing, install them first, then re-run the command.
Step 6: After running the diagnostic tool, a text file will be generated inside the logs folder.
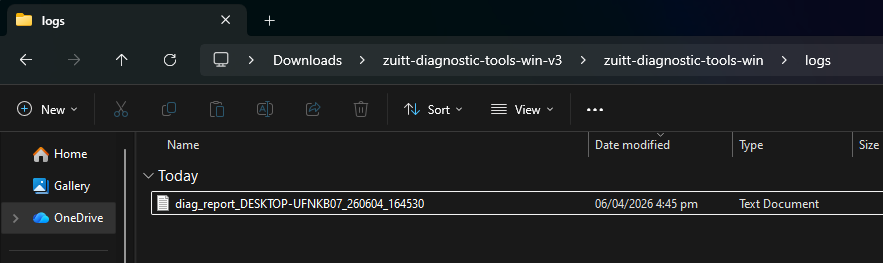
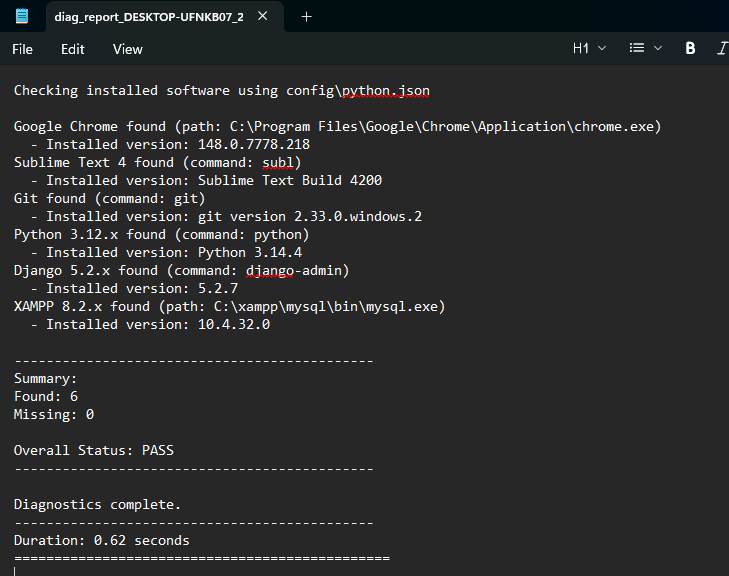
Inside the .txt file
Step 7: Save the .txt file to your Google Drive and rename it using the format <LastName>-<FirstName>.
Example: Delacruz-Juan.txt
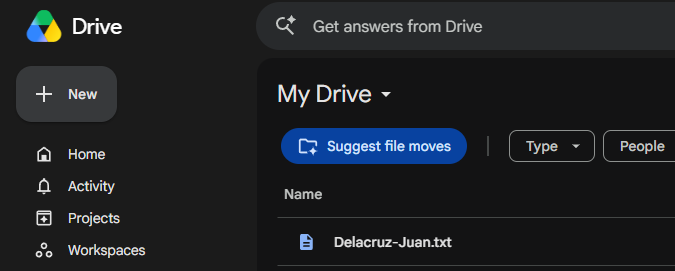
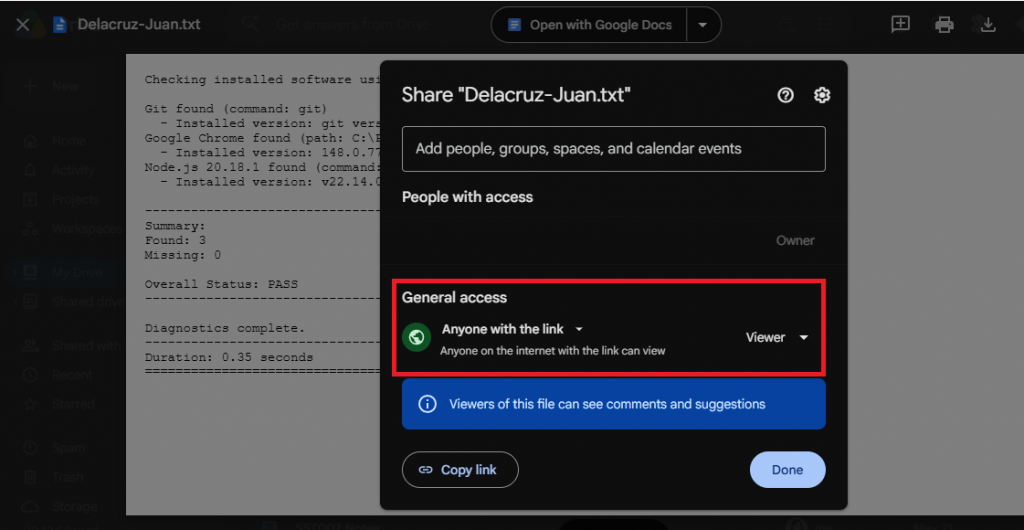
Make sure the file’s sharing settings are set to Anyone with the link can view. Then, submit the Google Drive link to your instructor on the first day of your class/session.
If you’ve stumbled upon this blog post and aren’t a bootcamper, you can begin your bootcamp journey with Zuitt by clicking this link: