
Note:
- If the version number installed in your device is lower than the version provided in the screenshots, follow the steps below to install the updated version of the applications.
- If an updated version of the above provided applications are already installed in your device, the following instructions will still work with minor differences in the version of the app you’re shown in the output which should have no impact during the course of the bootcamp.
Allow Apps from the App Store and Identified Developers
Reference: https://support.apple.com/en-us/HT202491
To allow installation from the App Store and Identified Developers on your Mac, choose Apple Menu > System Settings, click Privacy & Security, then scroll down to the Security.
Select App Store and identified developers under the header “Allow apps downloaded from.”

Homebrew
Click the Spotlight Search located at the top-right of your screen (the magnifying glass icon at the right side of the current time) then search and open a program named Terminal.
Inside the Terminal program, copy-paste the code below then press Enter.
/bin/bash -c "$(curl -fsSL https://raw.githubusercontent.com/Homebrew/install/master/install.sh)"The terminal should now look like this:

Press Enter and type your password to continue then wait for the install process to finish.
The executed command will install utility tools (specifically for MacOS devices) that will be used in the bootcamp.


Sample screenshots of the outputs in the Terminal while the command is running.

To verify that the installation process is successful, type the following in the Terminal:
brew -vIt should output the following:

Git was also installed along the way. To confirm, type git –version and the output should be like this:

If the version number is higher than in the screenshot, it means that it is more updated.
After verifying the success of the install process, keep the Terminal in the dock by right-clicking the program in the dock and choosing the Keep in Dock option.

Google Chrome
Open a web browser (initially Safari) and go to https://google.com/chrome. On the page, click the Download Chrome button.
Note: If you have an iMac or Macbook with the Apple Silicon (M1 or later) chip, click the Mac with Apple chip button. Otherwise, click the Mac with Intel chip button.

After downloading, open the DMG file.

After opening the DMG file, drag the Google Chrome icon to your Applications.


Click the Spotlight Search located at the top-right of your screen (the magnifying glass icon at the right side of the current time) then search and open Google Chrome.
Google Chrome should open normally.

Keep the Google Chrome in the dock by right-clicking the program in the dock and choosing the Keep in Dock option.

Postman
Open a web browser (Safari or Google Chrome) and go to the Download page of Postman. On the page, click the Download the App button.

Open the downloaded ZIP file.

After opening the ZIP file, go to your Downloads folder via Finder and double-click on the Postman.

A prompt will be displayed asking if you want Postman to be moved to the Applications folder. Confirm by clicking the Move to Application Folder button.

Another prompt will be displayed. Click the Ok button.

Finally, wait for the process to finish.

Postman should open normally.

Keep the Postman in the dock by right-clicking the program in the dock and choosing the Keep in Dock option.

XAMPP Installation
Open the downloaded installer.
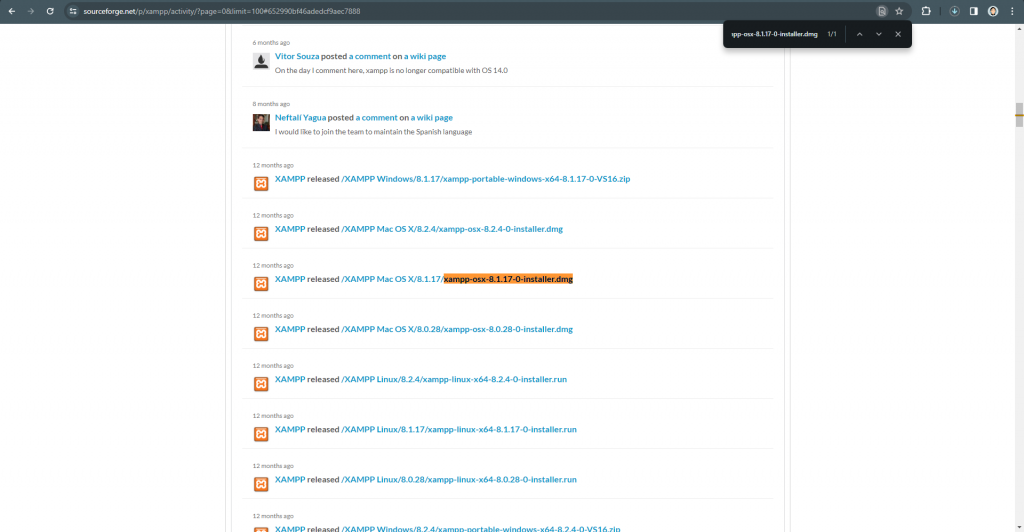
If the link to the installer in the download link section provided above does not work or the same version is not found, you may download the installer here.
The link provided above will redirect you to a list of installers. Press Ctrl + F on your keyboard to open the find in page menu.
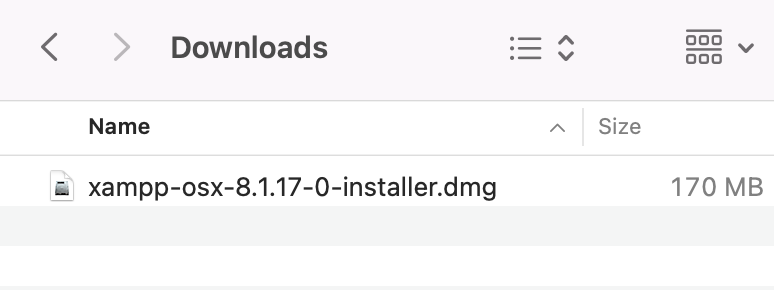
Look for the installer (xampp-osx-8.1.17-0-installer.dmg) with the exact same name as provided in the screenshot above.
Click the link to download the installer.
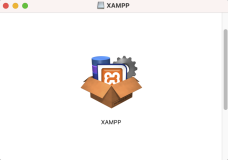
Double-click the XAMPP icon.
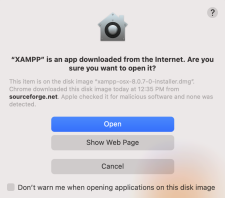
Click the Open button to proceed.
Enter your current account’s password when prompted. Then click the Next button to proceed.
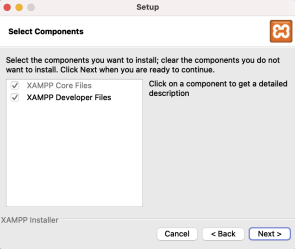
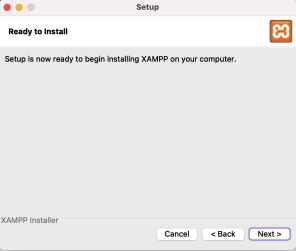
Click the Next button to proceed.
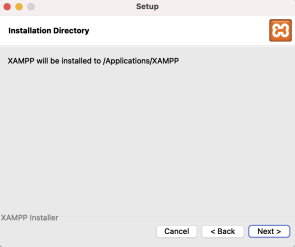
Click the Next button to proceed.
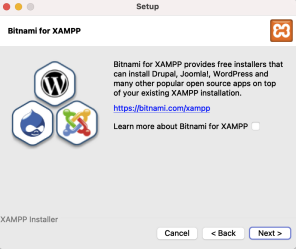
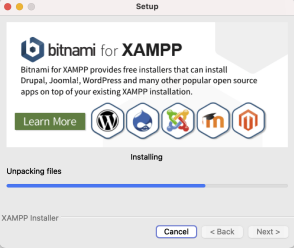
Uncheck the Learn more option then click the Next button to proceed.
Click the Next button to proceed.
Wait for the installation to finish.
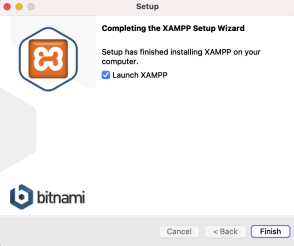
Leave the Launch XAMPP checked and click the Finish button
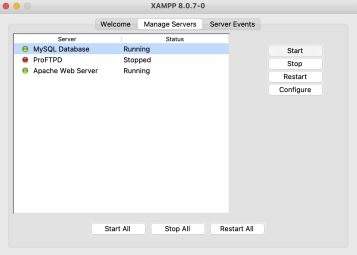
The XAMPP should open. Go to the Manage Servers tab. Try to start the MySQL Database and Apache Web Server. It should start normally.
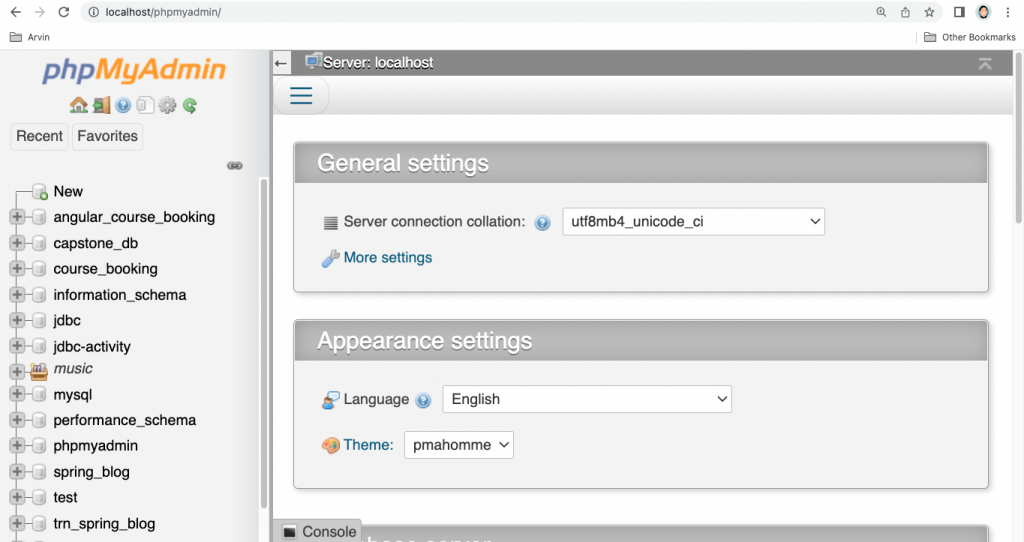
Open Google Chrome and go to localhost/phpmyadmin to confirm that the phpMyAdmin web program works properly.
To allow use of terminal commands from XAMPP, open a Terminal and execute the command below.
sudo nano ~/.bash_profile Then, add the following lines after the last line (or first line if there is no content yet) inside the opened file editor.
export PATH=/Applications/XAMPP/xamppfiles/bin:$PATH Press Ctrl+O to save the file then Ctrl+X to exit the editor. Then, execute the command below to refresh Terminal settings.
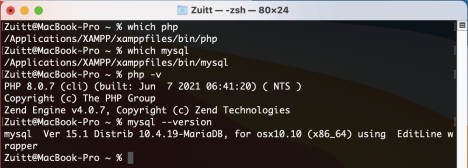
source ~/.bash_profile Execute the following commands in the Terminal to determine that XAMPP has been configured properly for Terminal use:
which mysql
mysql --version
The output of these commands should be the following:
Visual Studio 2022
Download the installer from this link.
Clicking the link should start your download process automatically.
Go to the folder where the downloaded .dmg file is located:

Click the file to start installation.

Click “Open”.

Select “.NET” when asked “What would you like to install?”. Then click “Install”.


Wait until this process is complete. Enter your password when prompted:

Once installation is complete, you may be asked to sign-in your Microsoft account, click “I’ll do this later” if you don’t have an account.

Select your preferred keyboard shortcuts. Then click “Continue”.

You should now be able to start using Visual Studio.

If you’ve stumbled upon this blog post and aren’t a bootcamper, you can begin your bootcamp journey with Zuitt by clicking this link: